Build Process
Build Process
Here are some of the processes we undertake on most of our conversion builds highlighting how a standard van can be modified, adapted, and upgraded into a hi spec camper van.
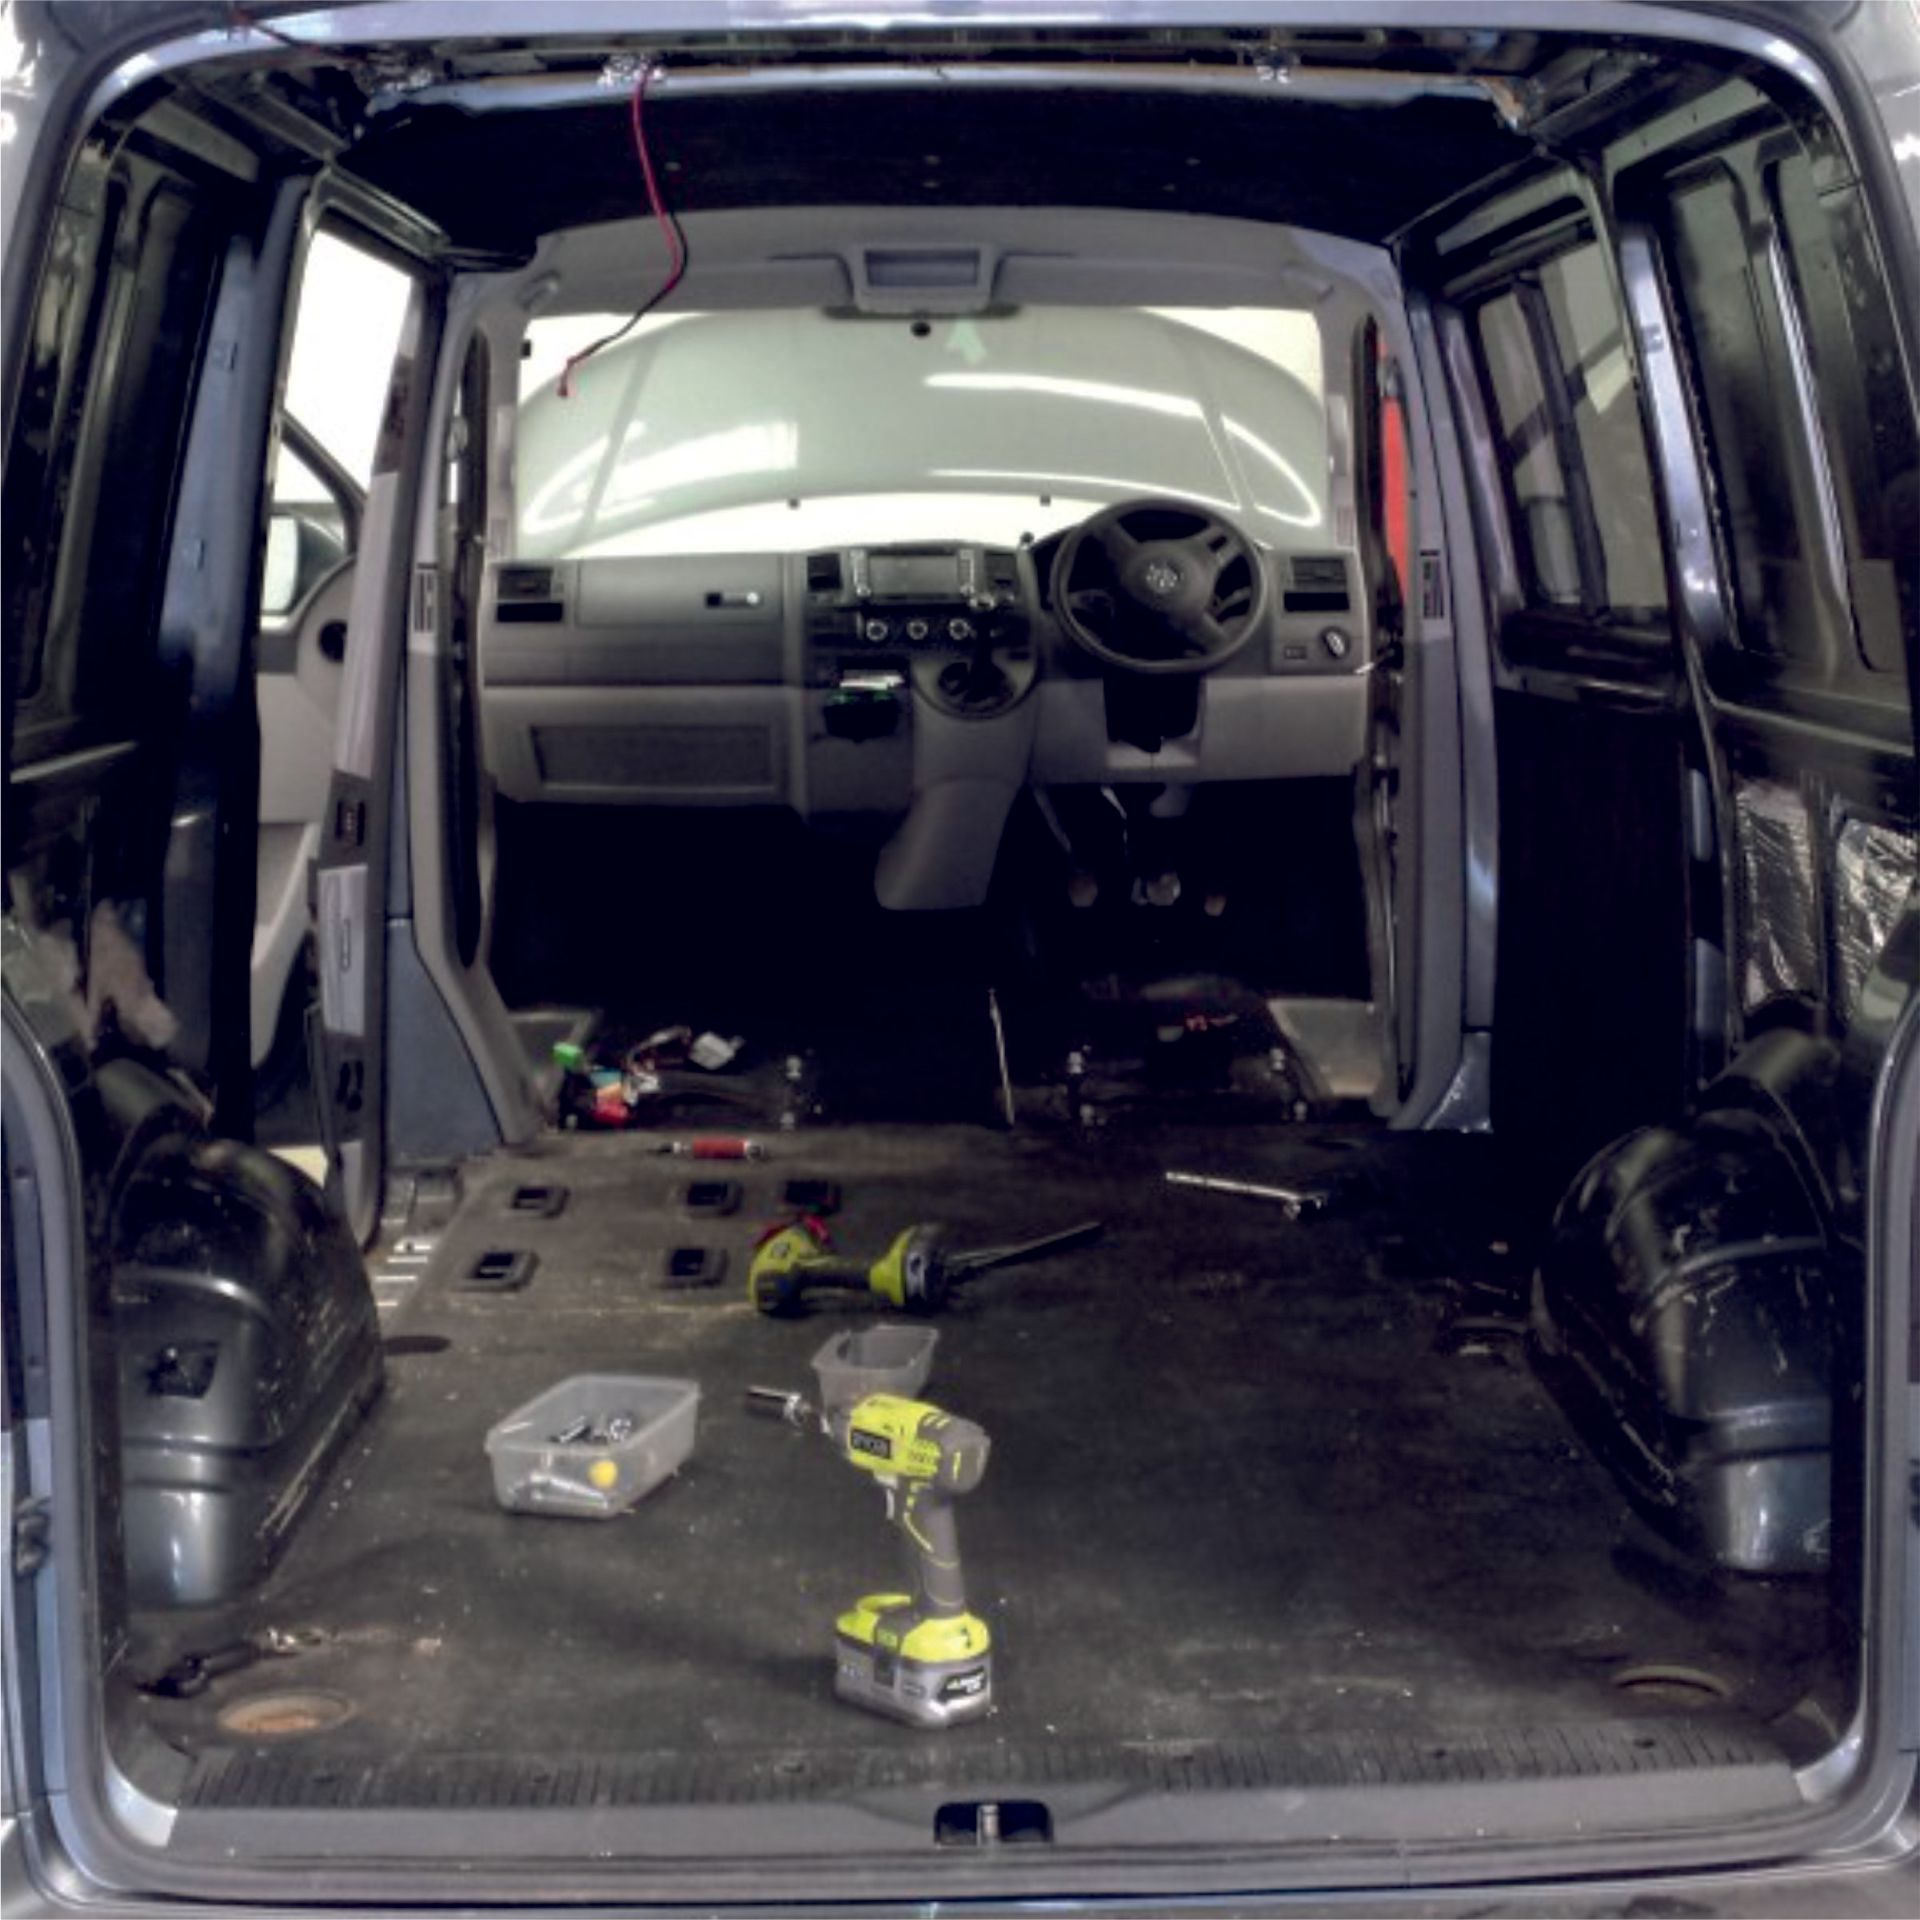
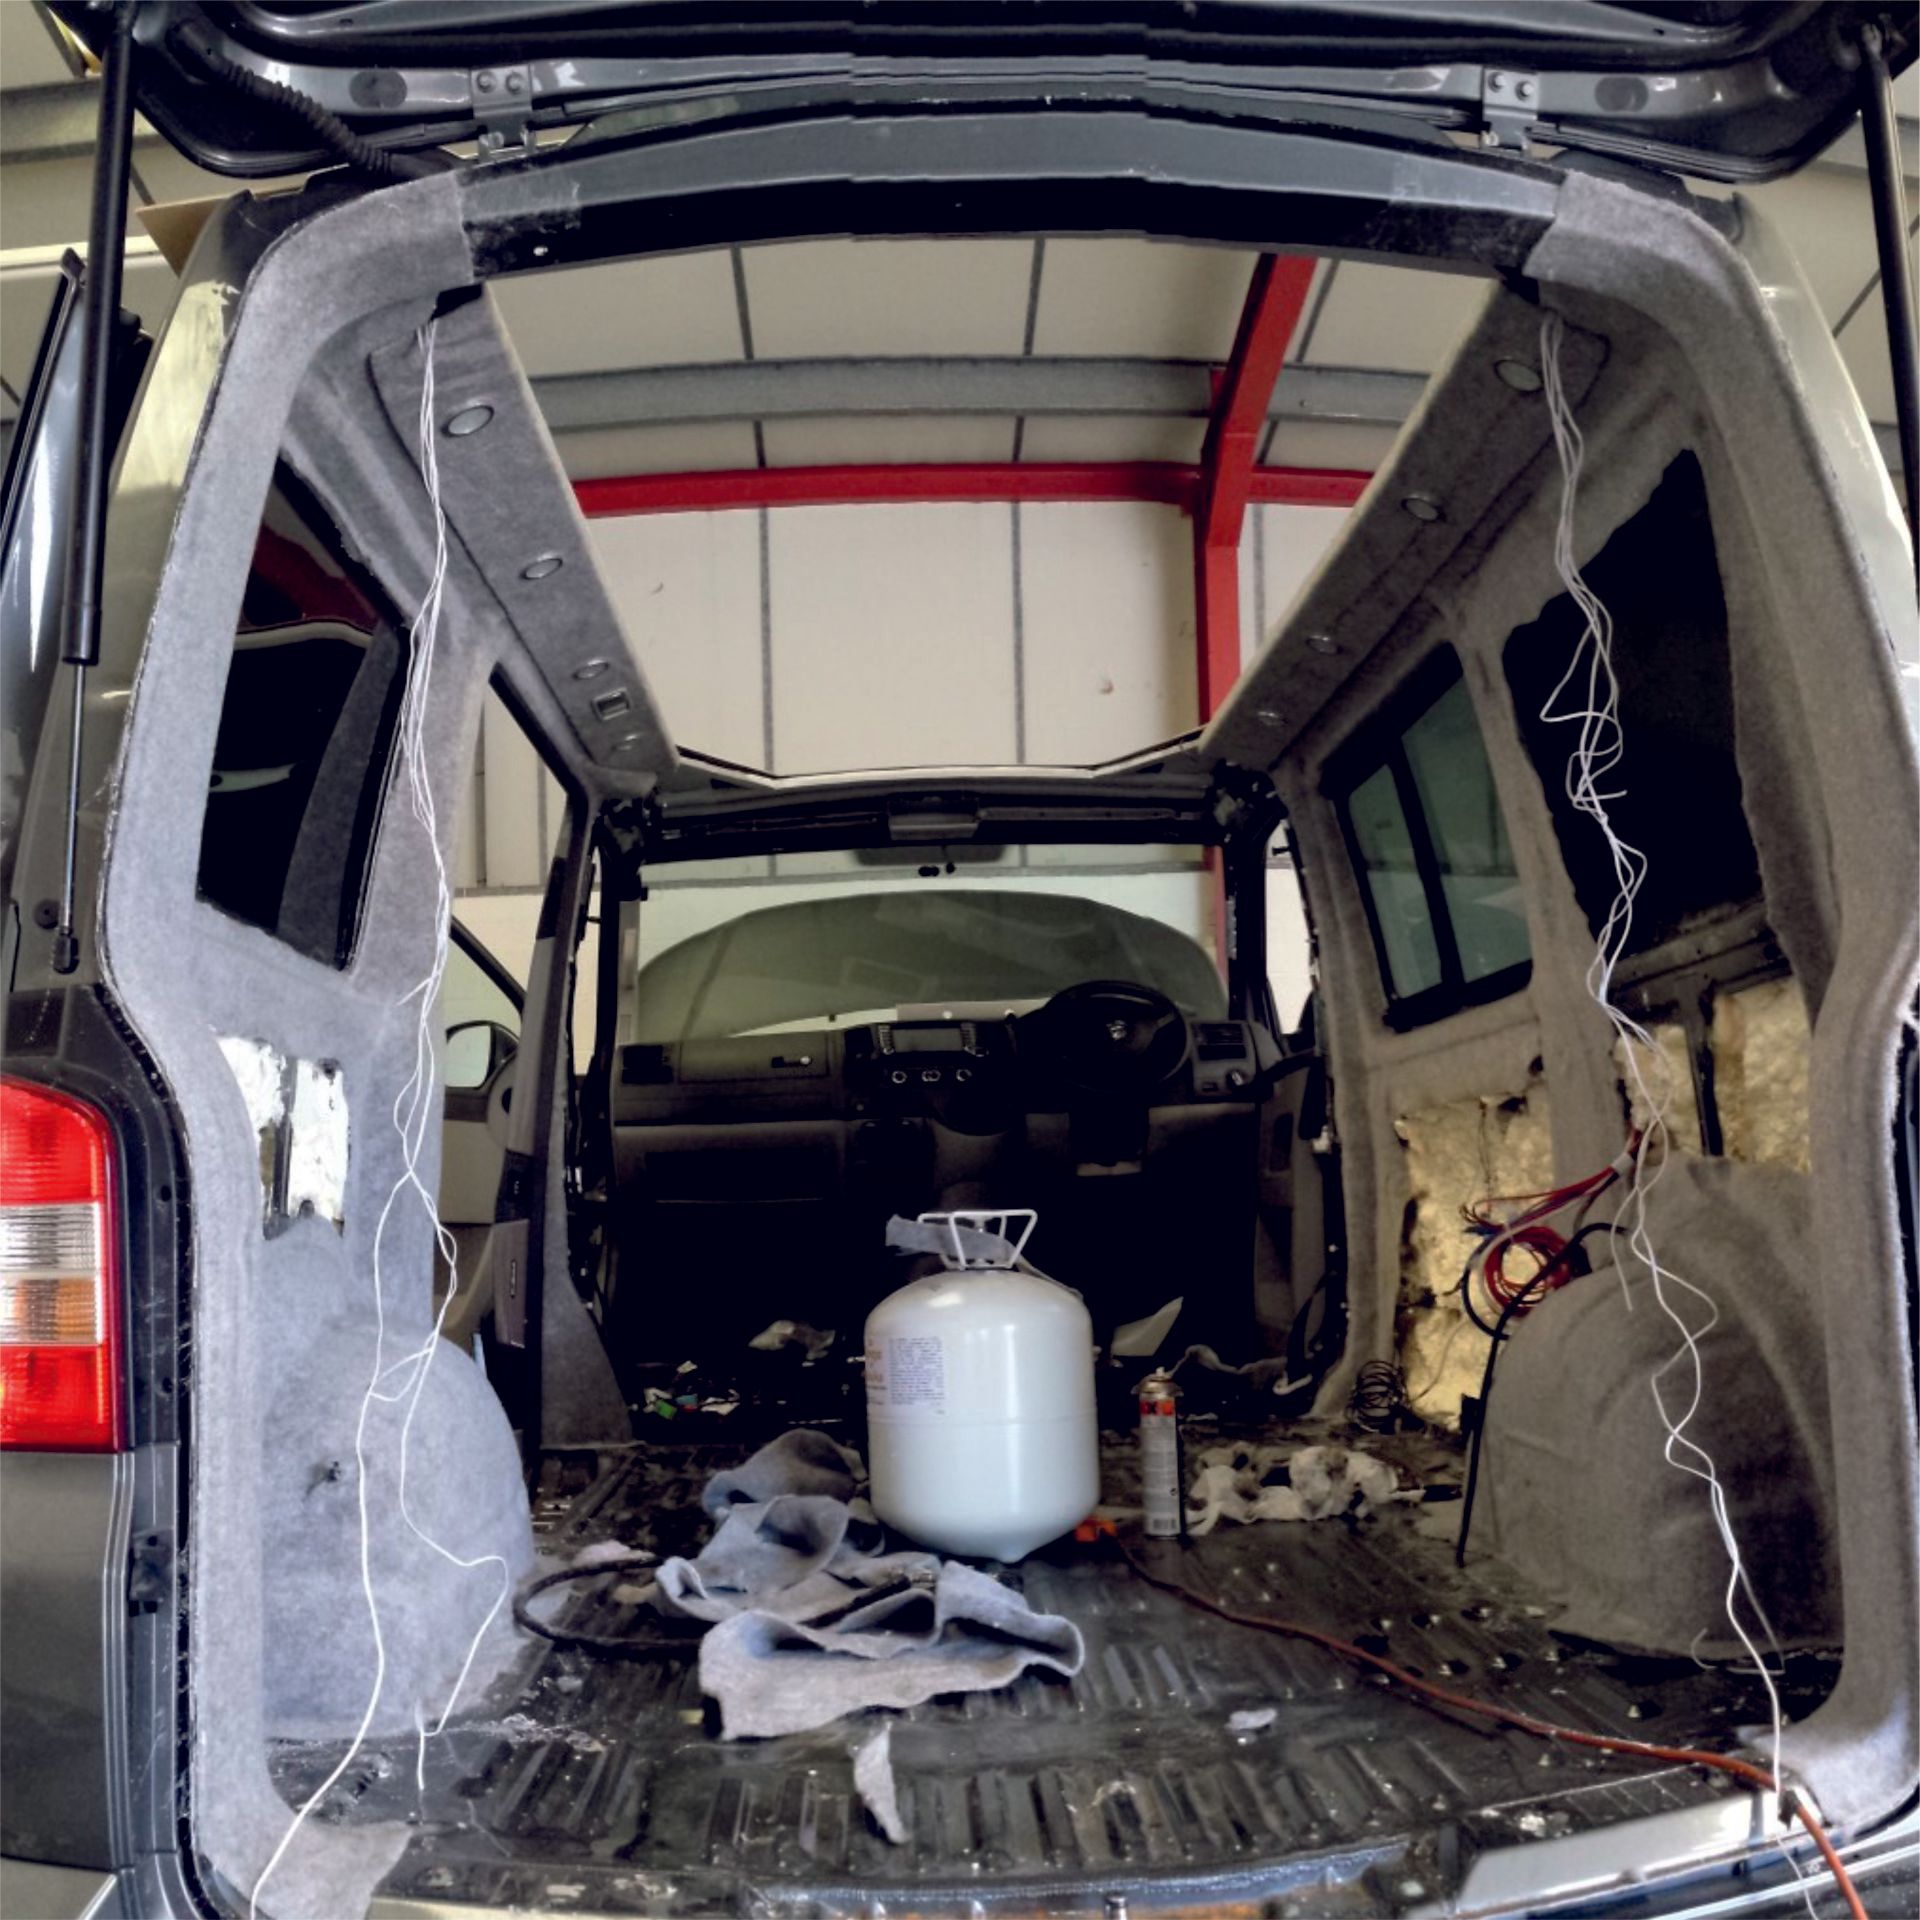
When we are first given a van we totally strip it of unwanted components ready for a complete transformation.

The roof is removed precisely to accommodate the pop top roof with reinforcements applied.
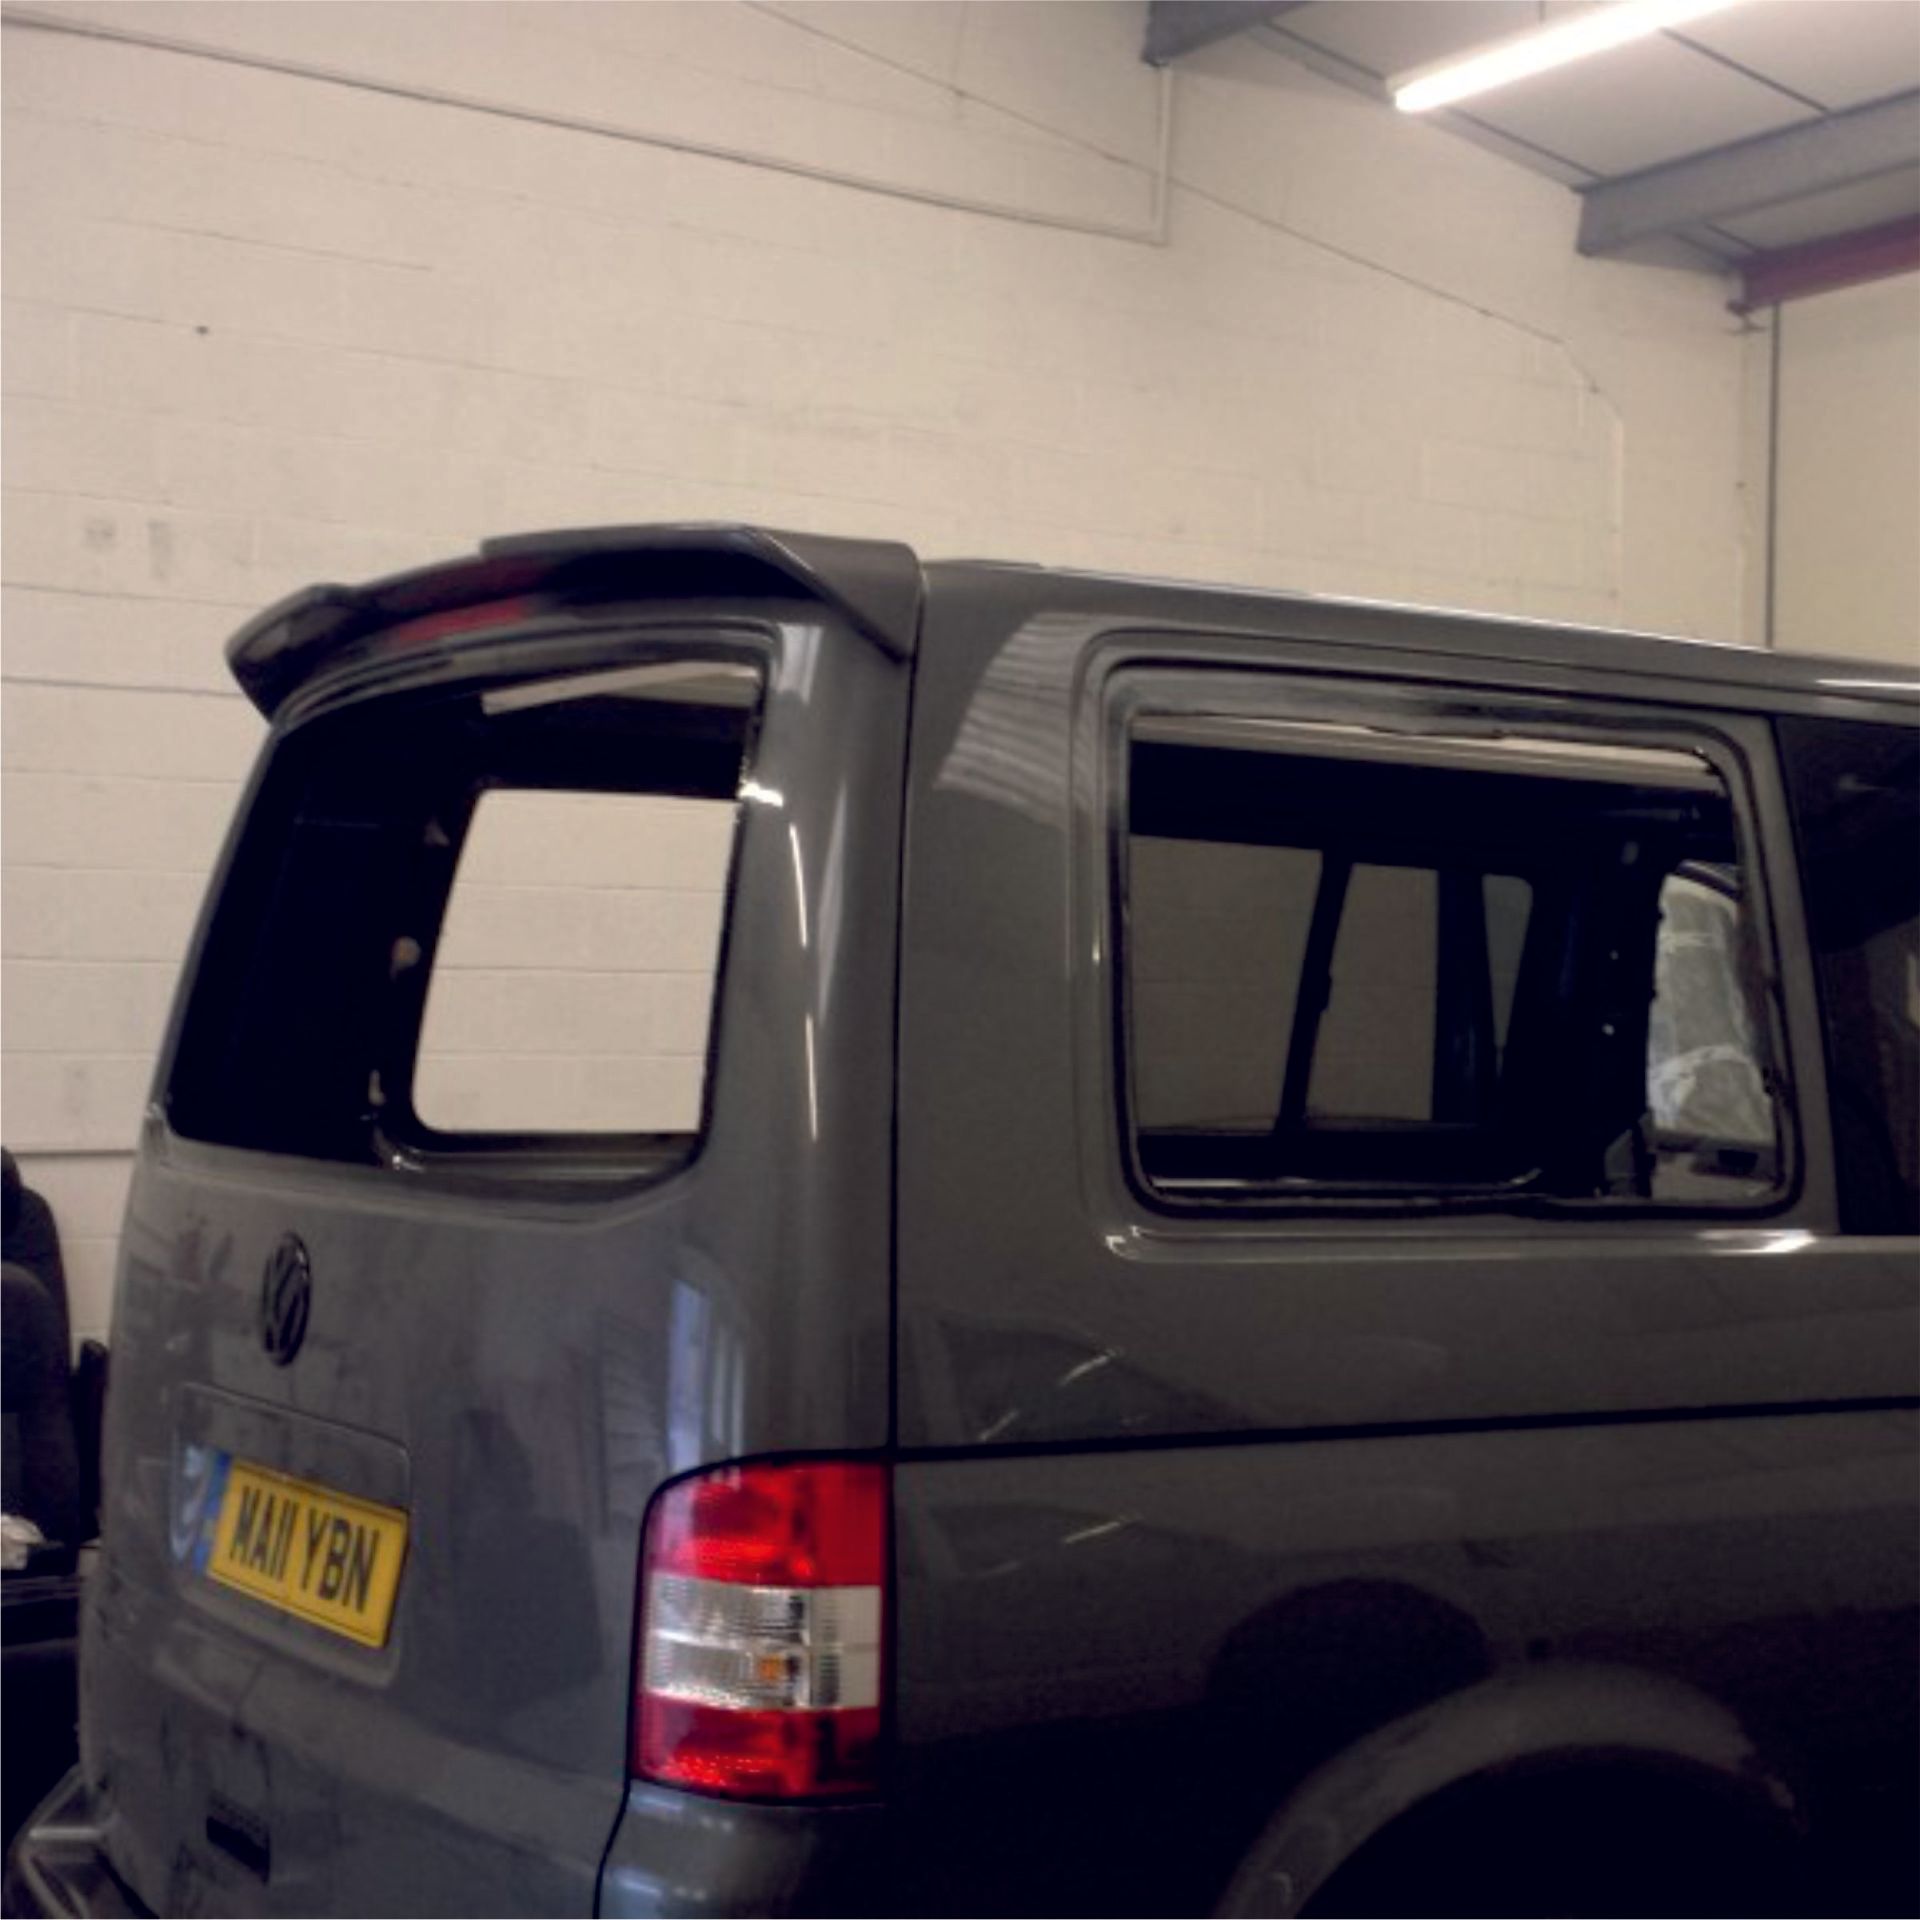
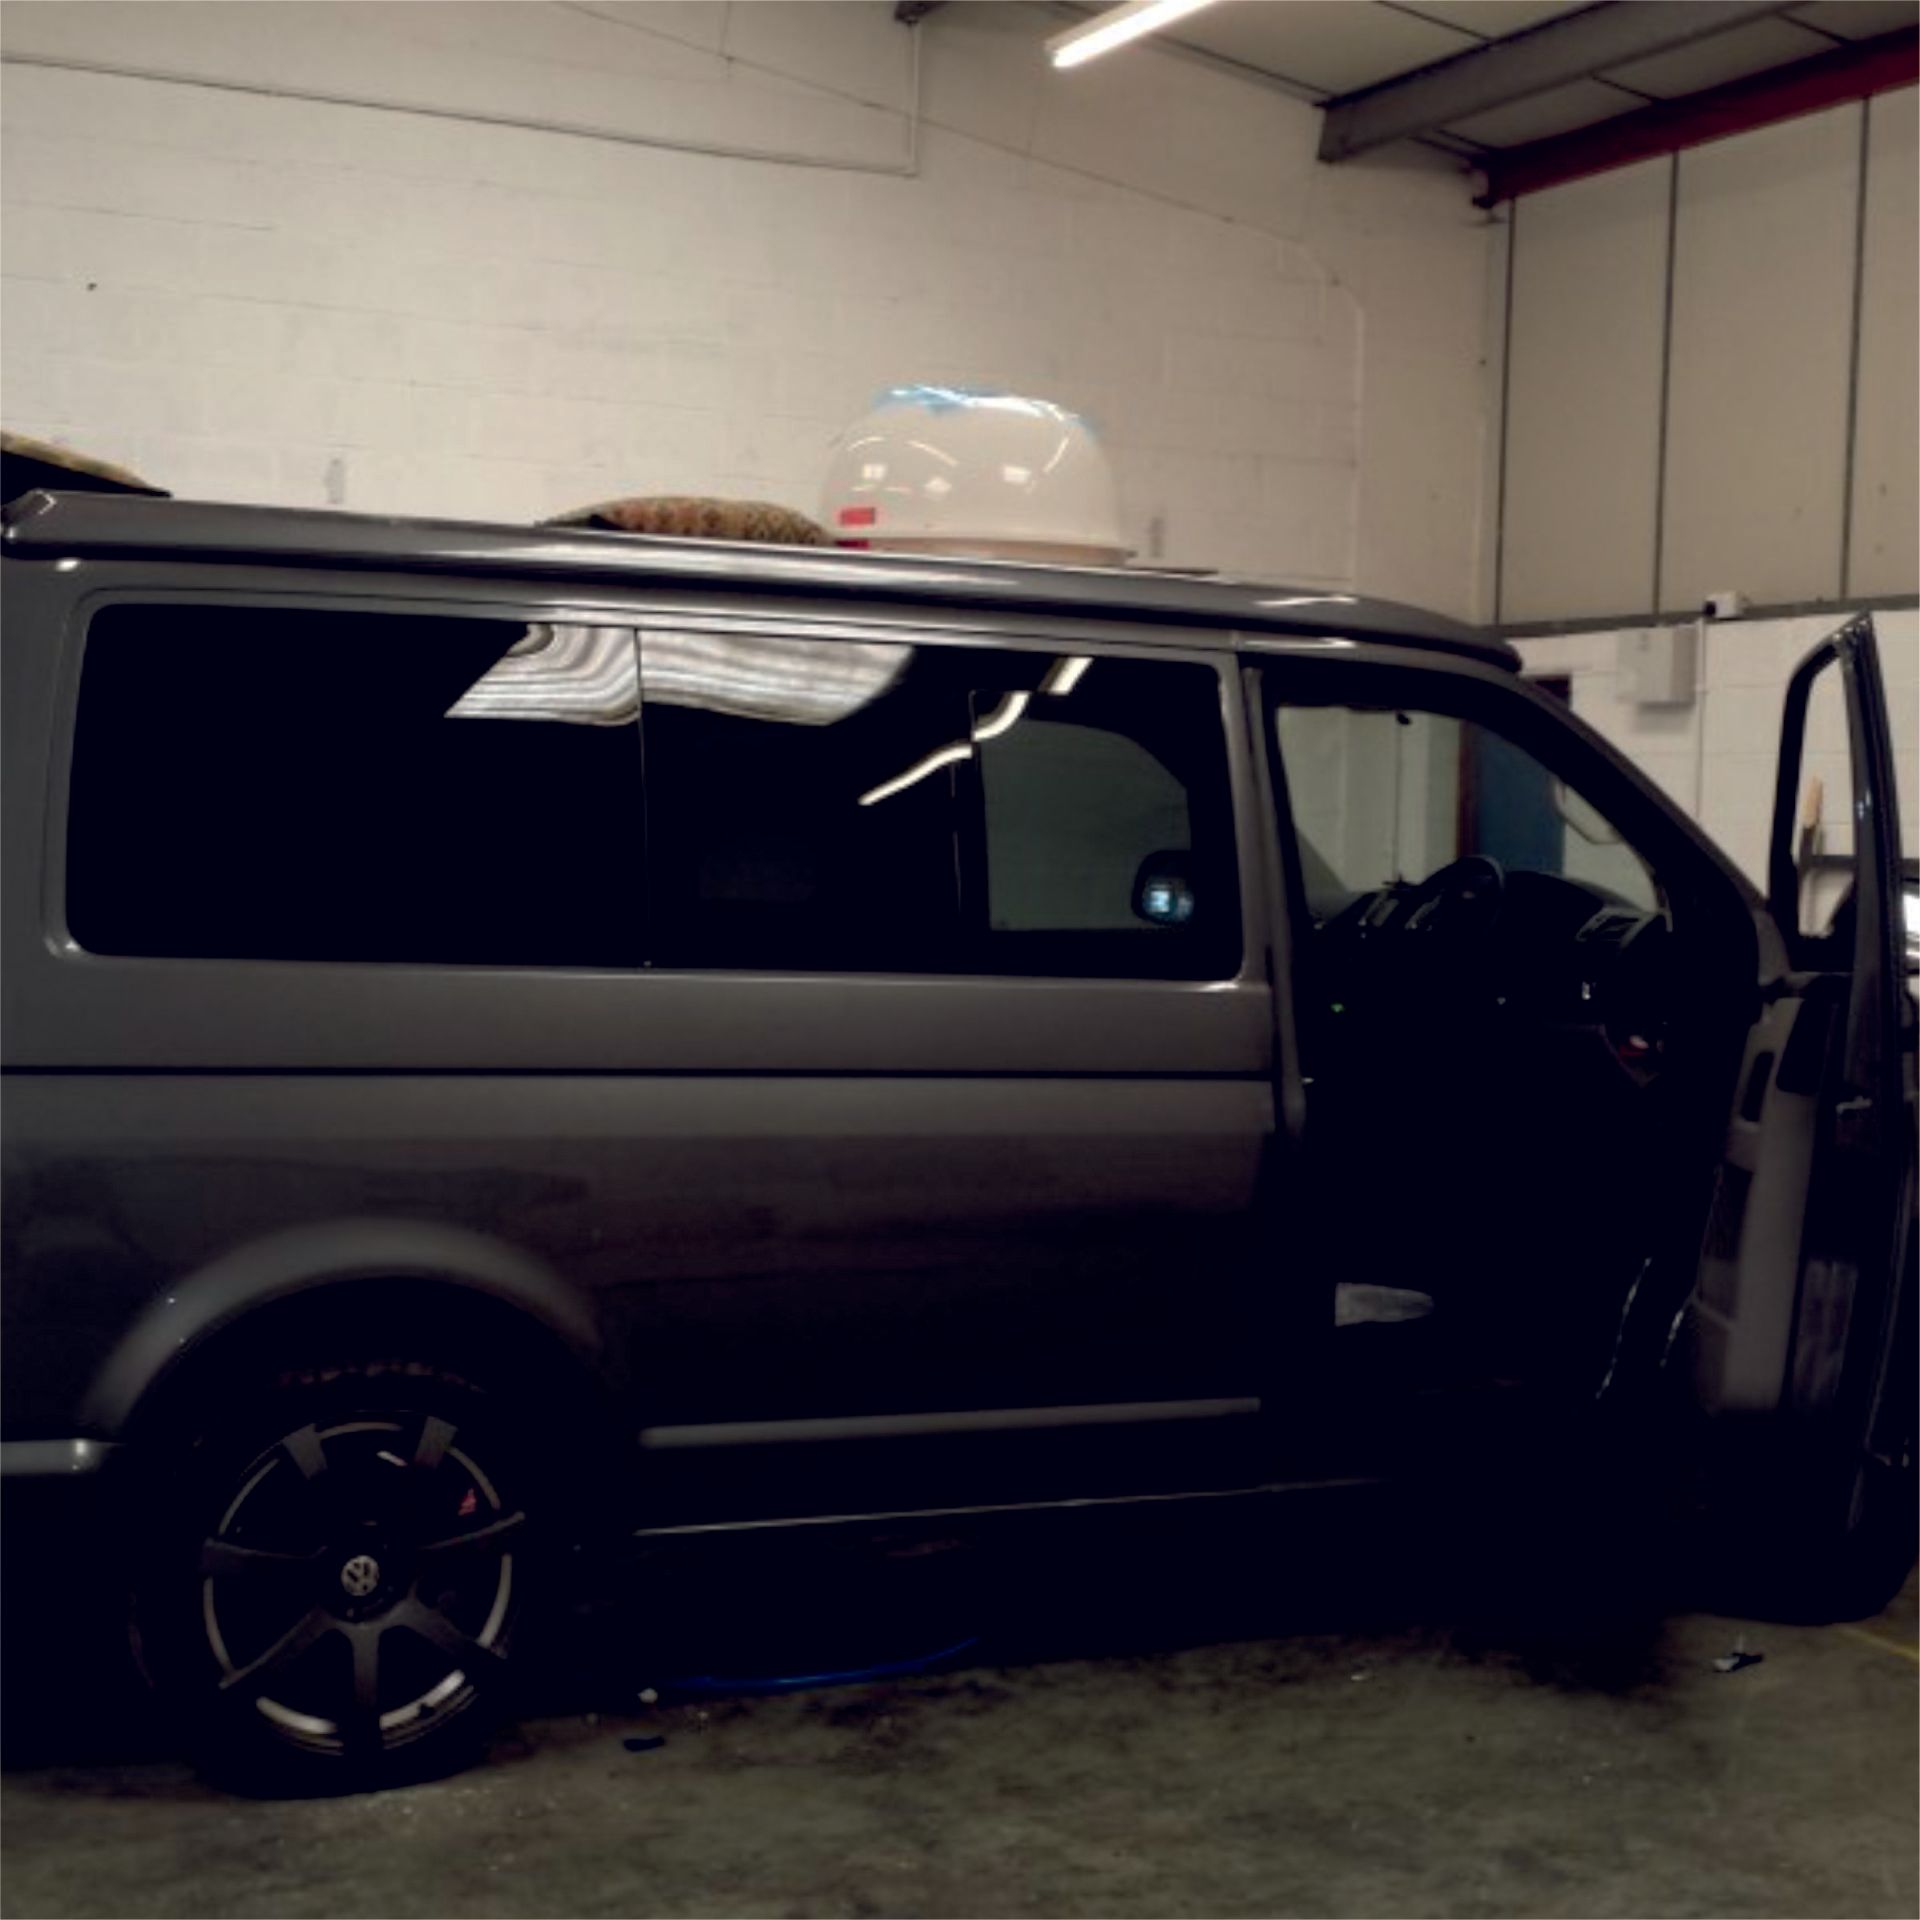
Window spaces are then cut out of the sides and rear of the vehicle awaiting professionally instilled glass.
Window installation is next on the list with both clear and privacy glass options available in part or full coverage.
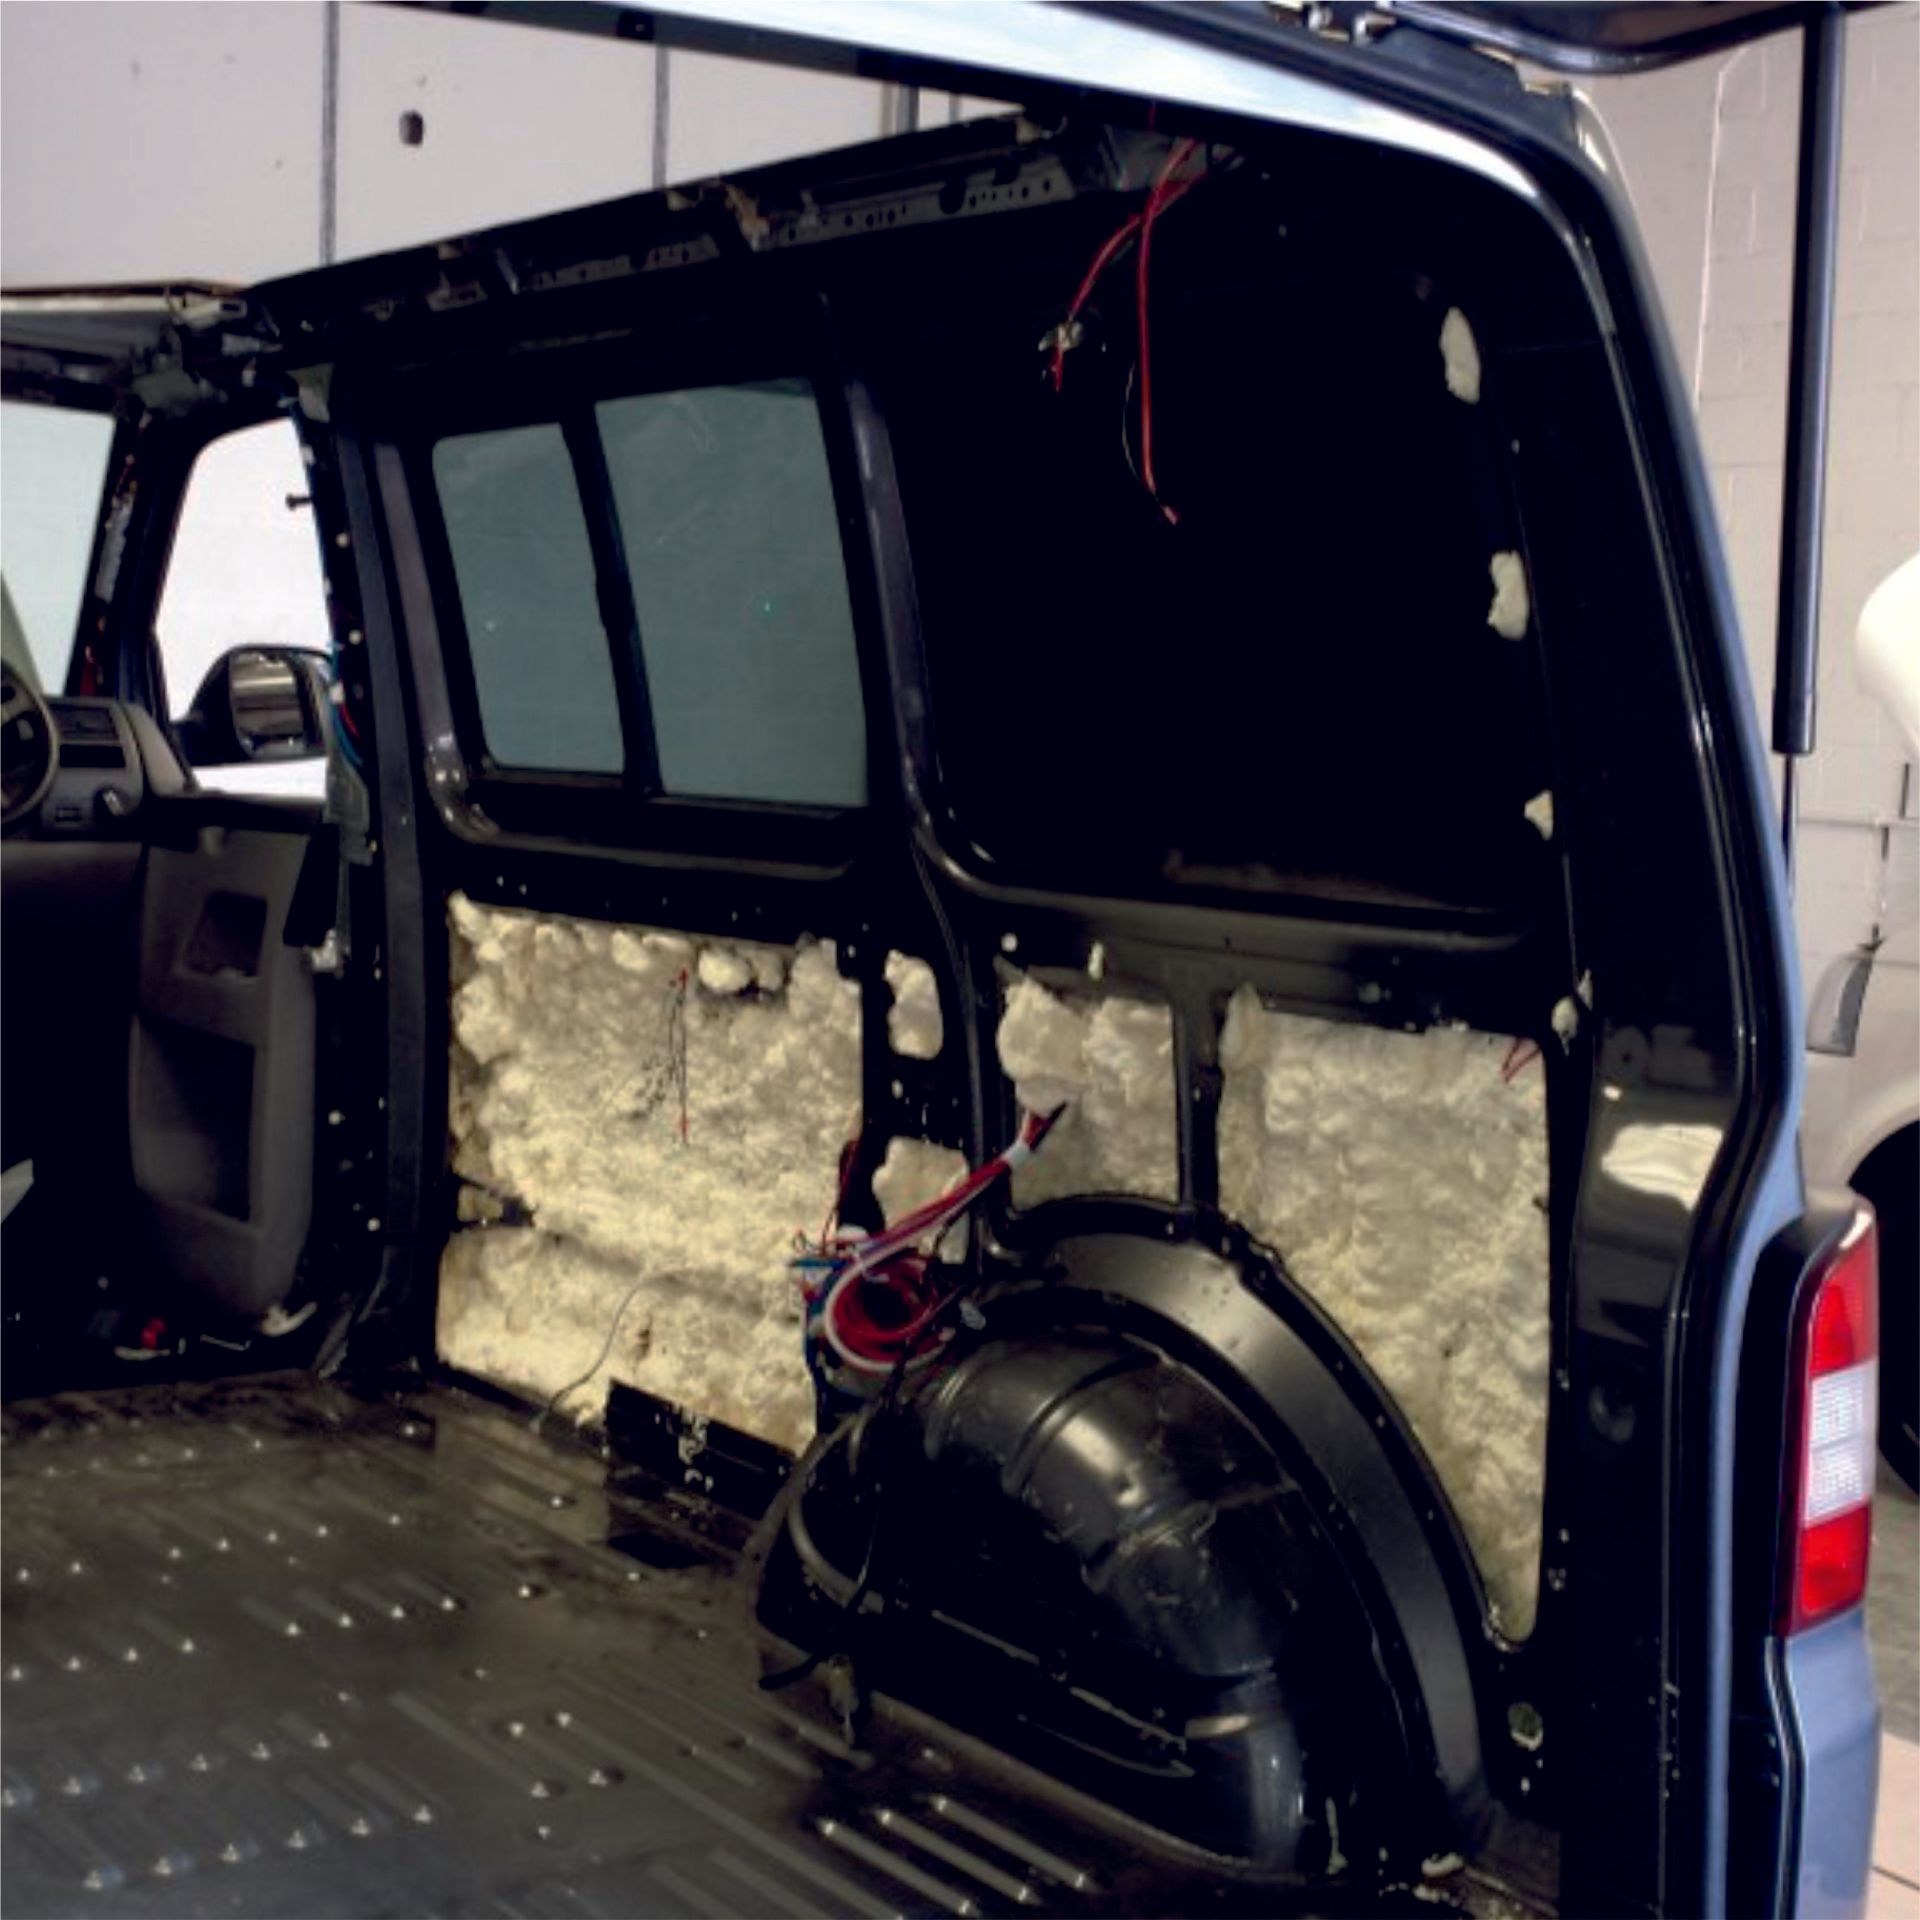
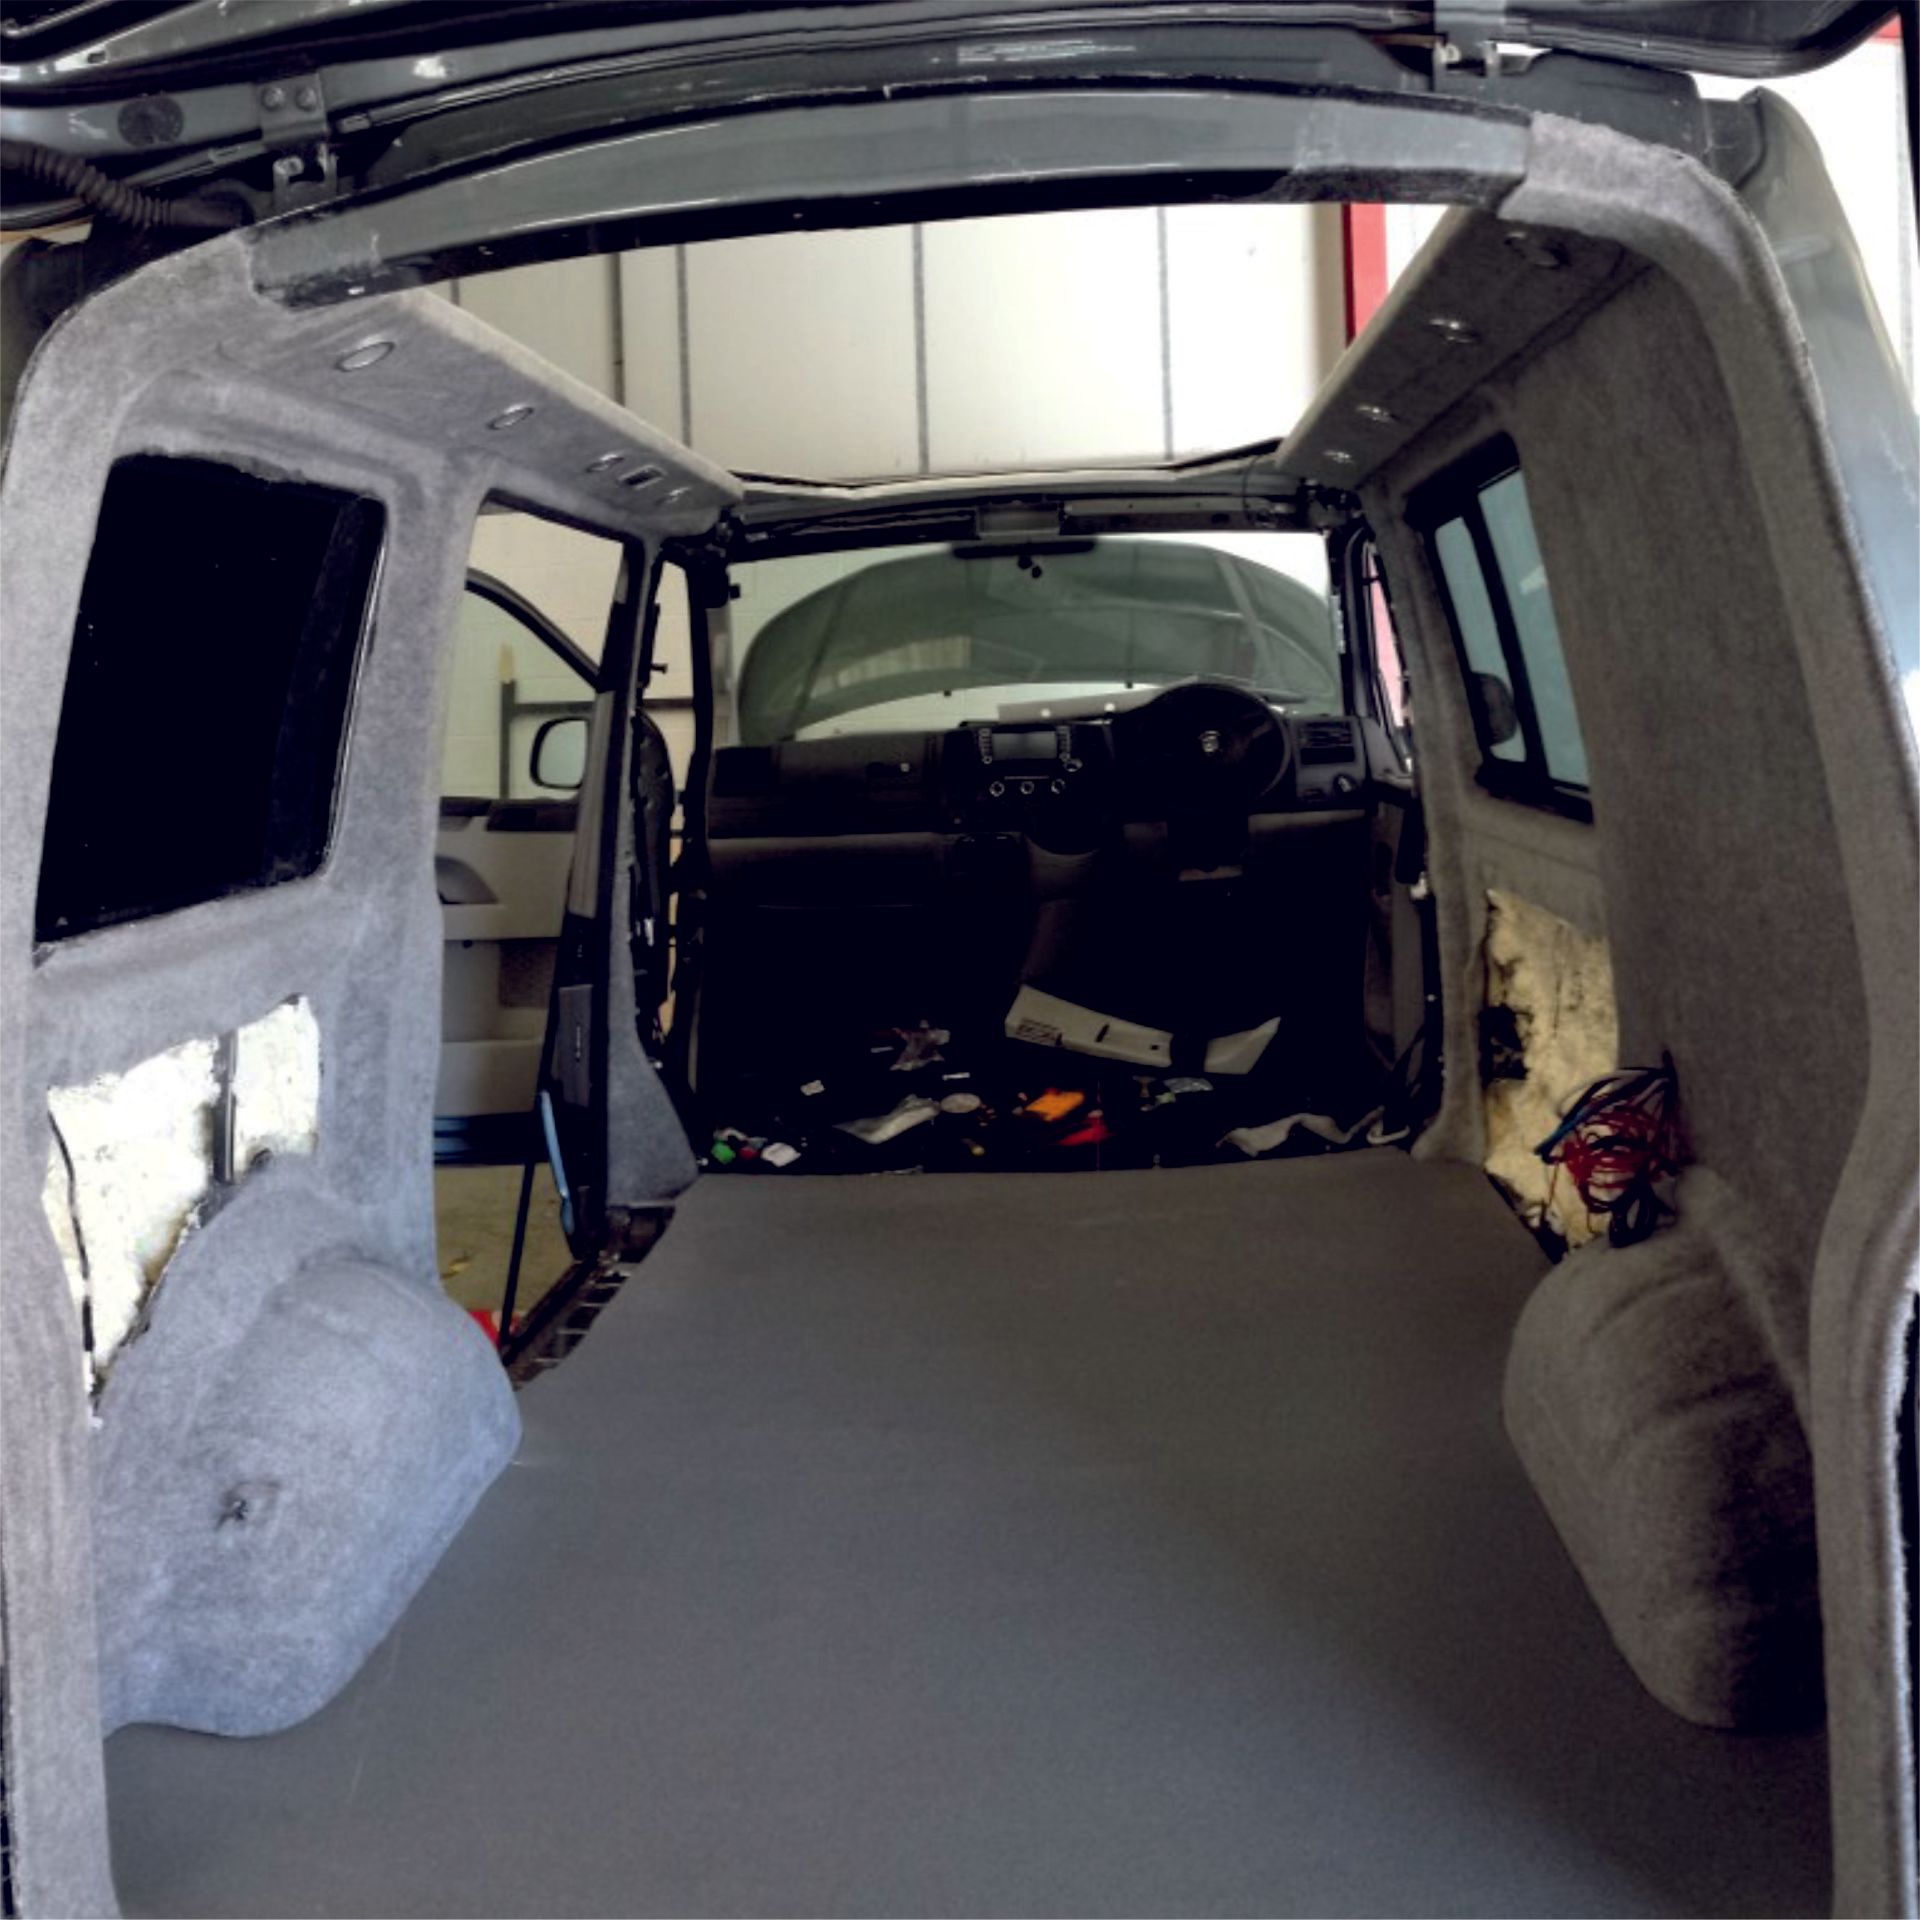
The interior is then insulated using a closed cell spray foam (other options available).
Then we ply-line and carpet the vehicle with any lighting or wiring included at the same time.
Flooring chosen by the customer is applied to give a hard wearing finish with Altro Flooring.
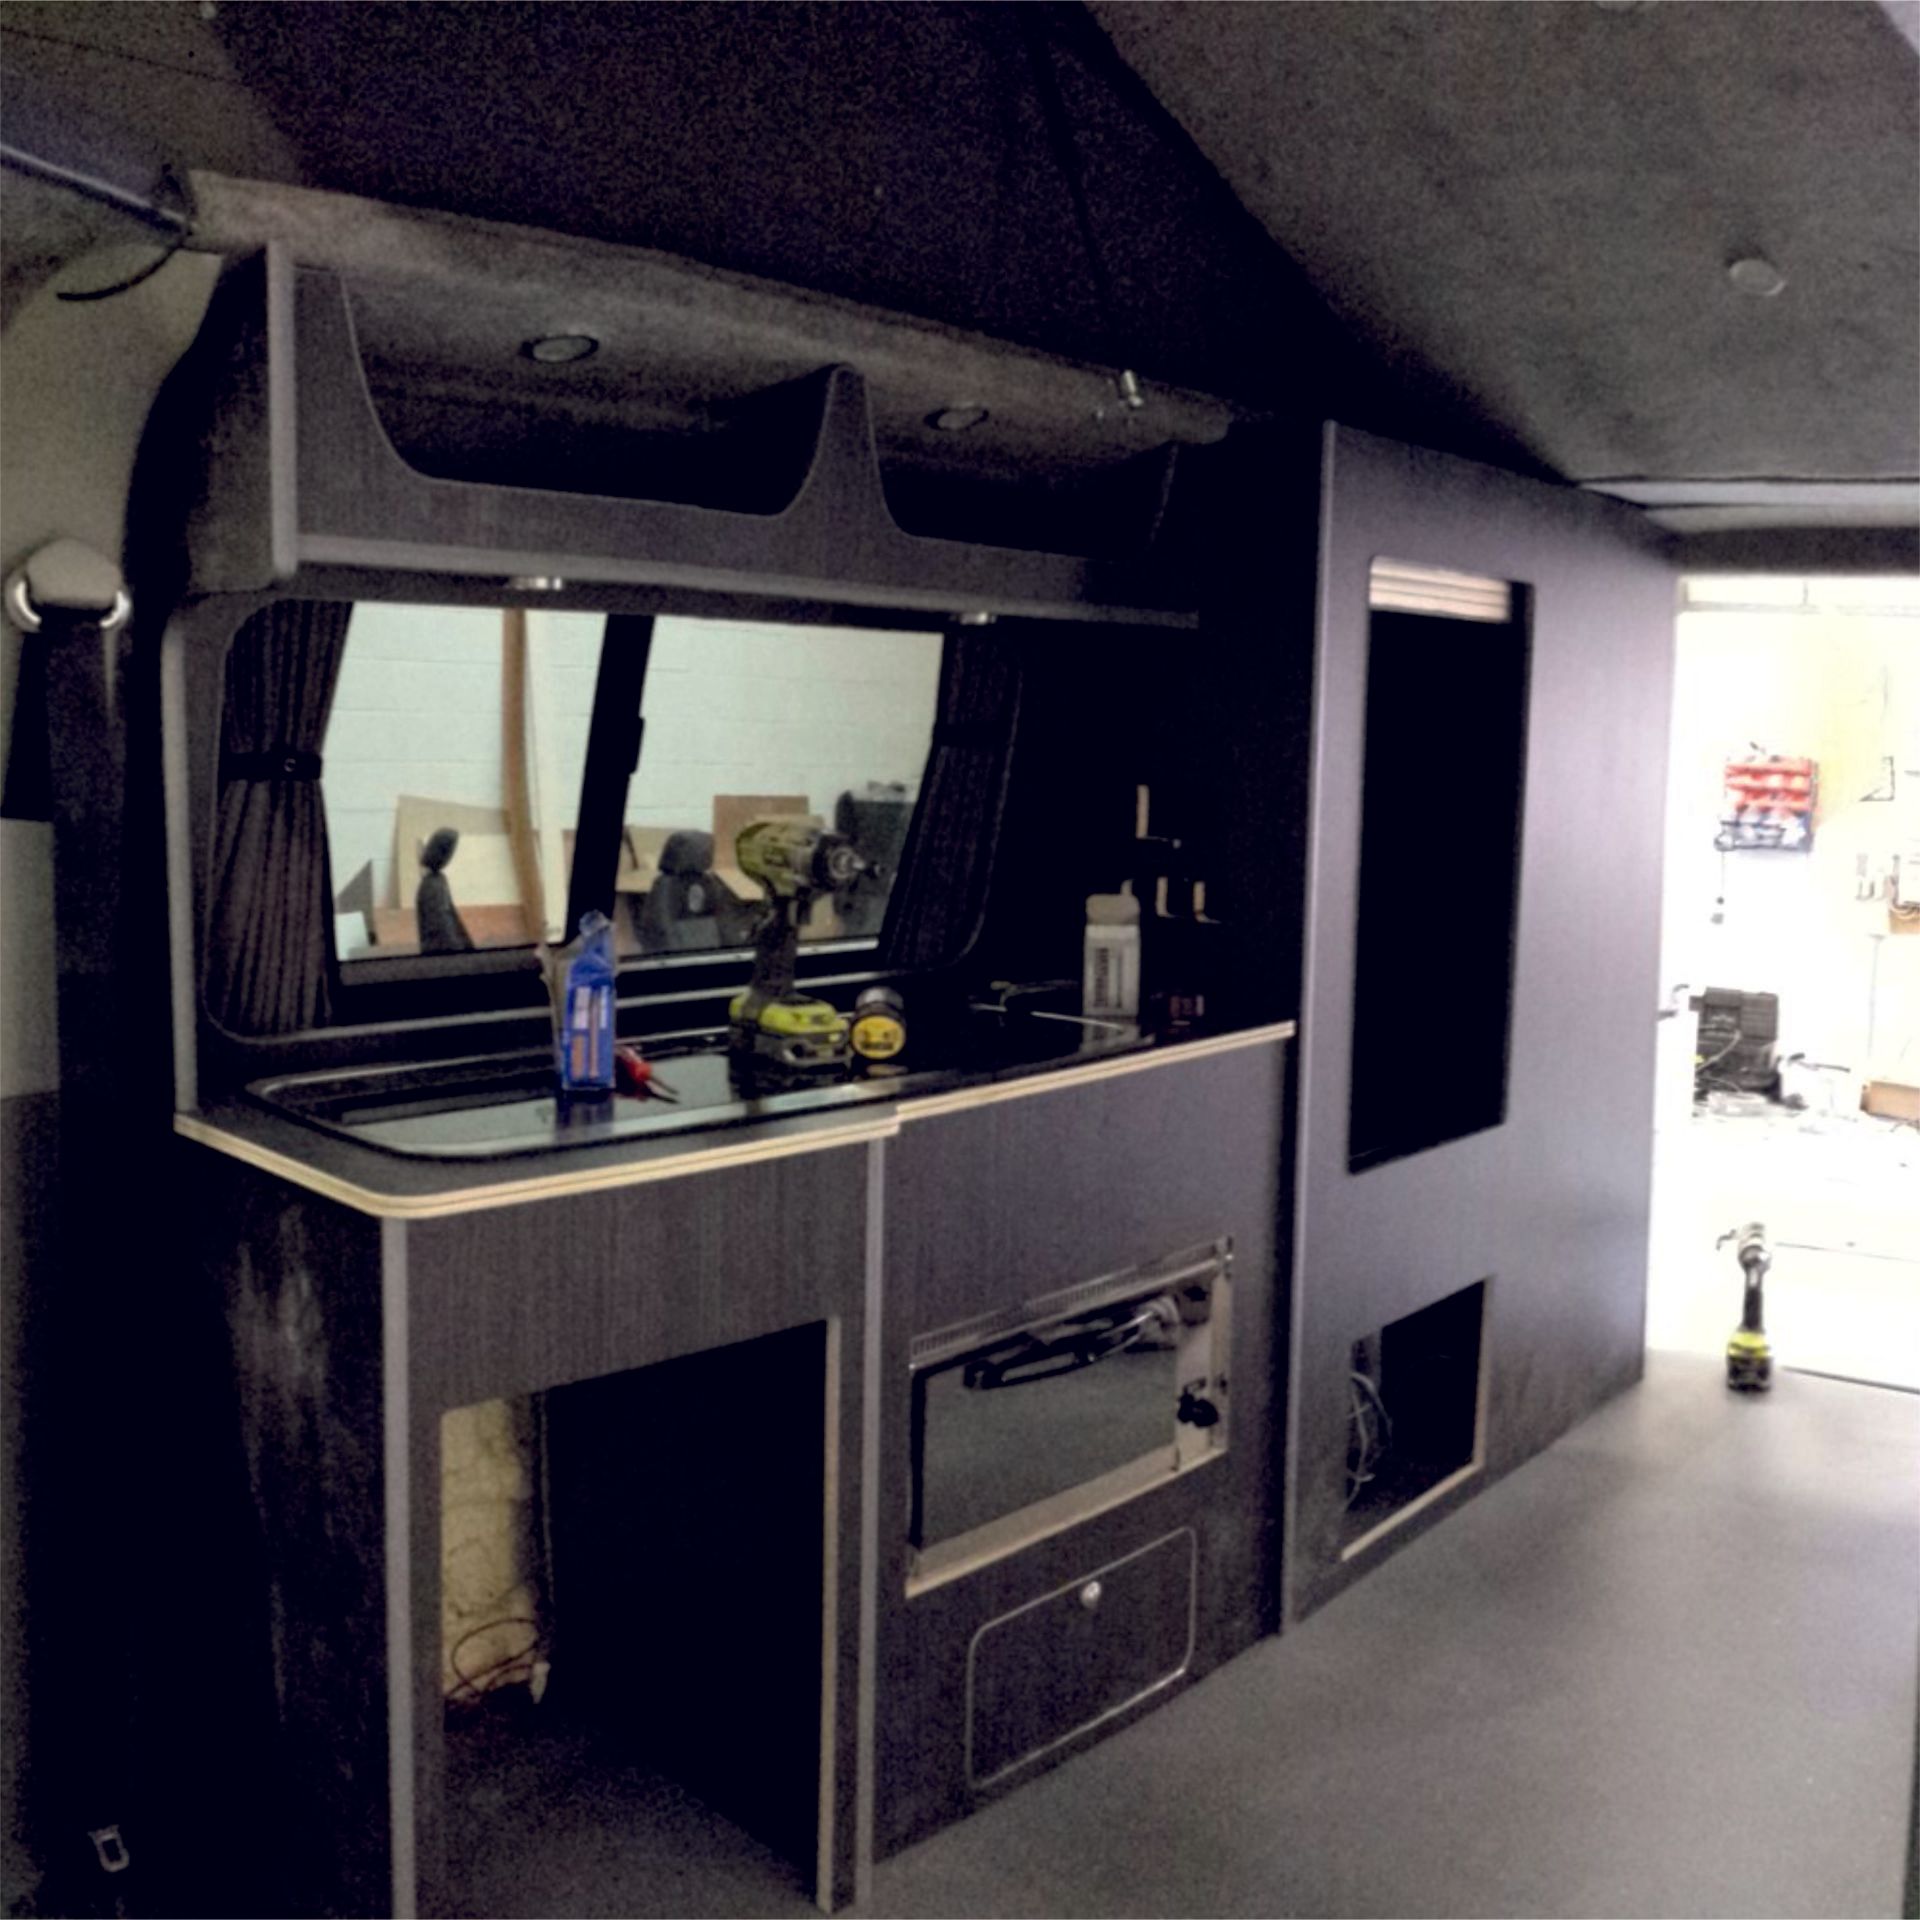
Taking shape the interior main unit is installed with bespoke wiring and lighting features.
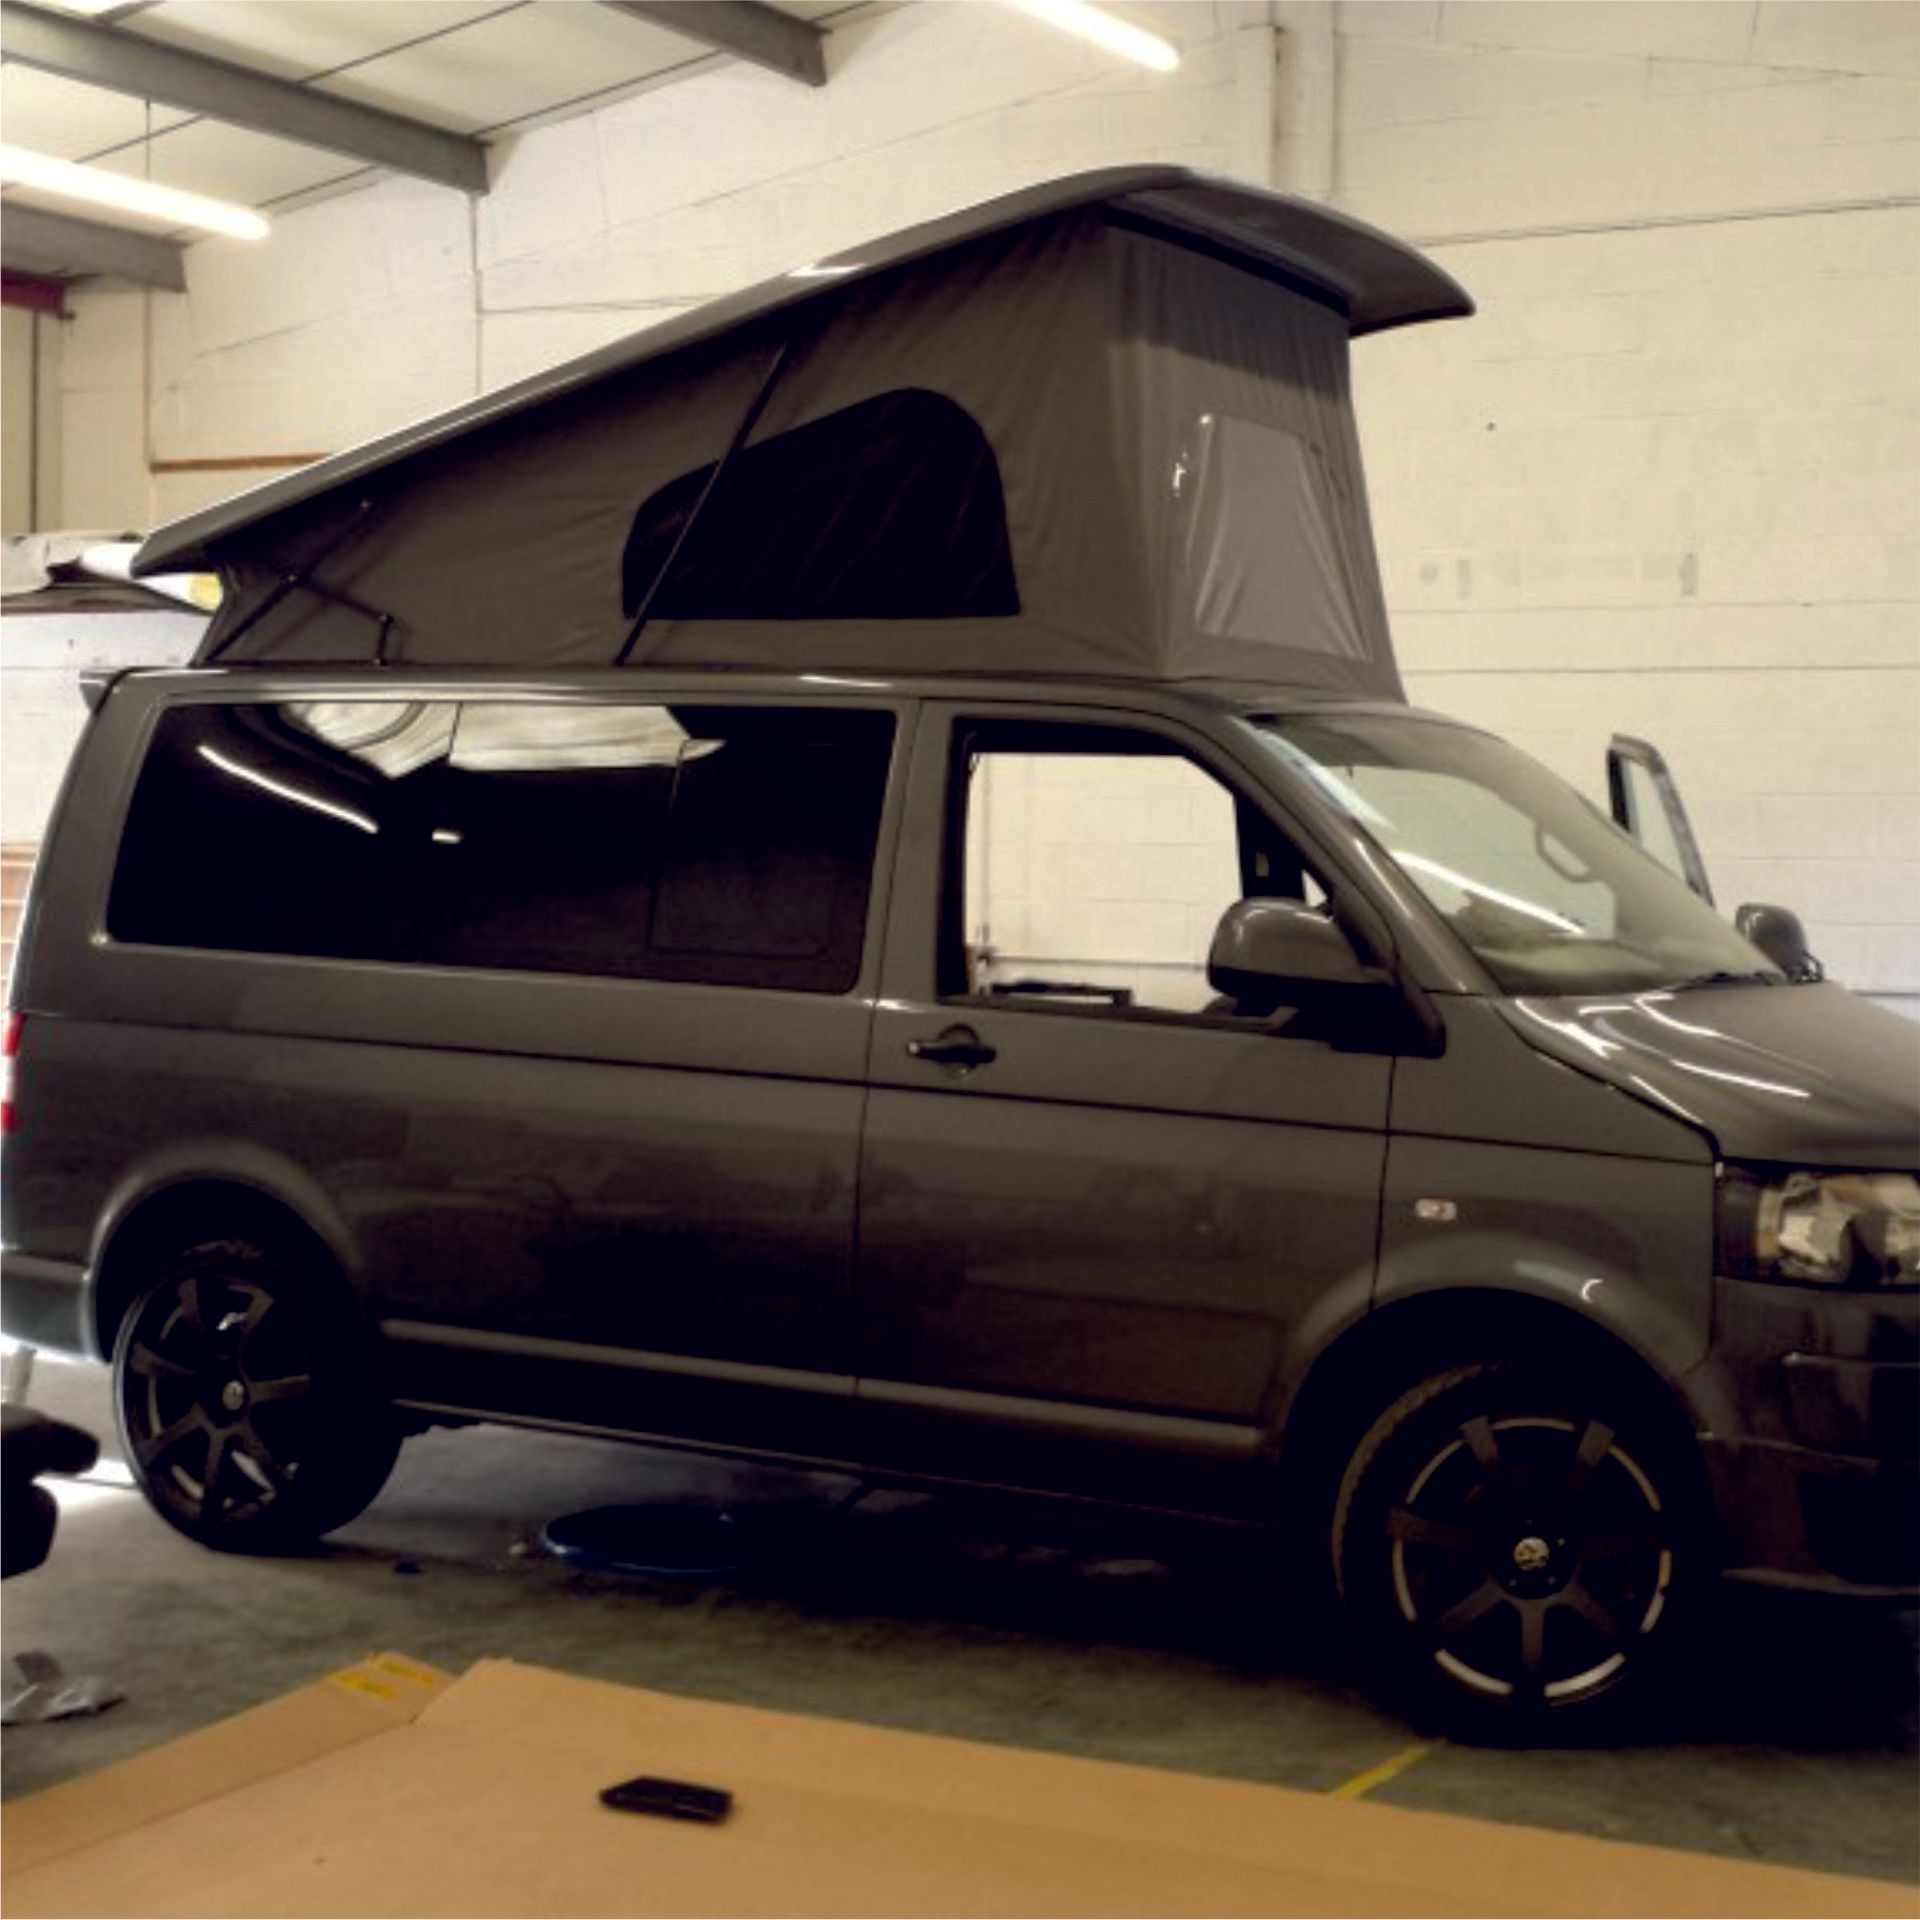
The pop top roof is then installed with any colour coded features applied to provide consistent appearance.
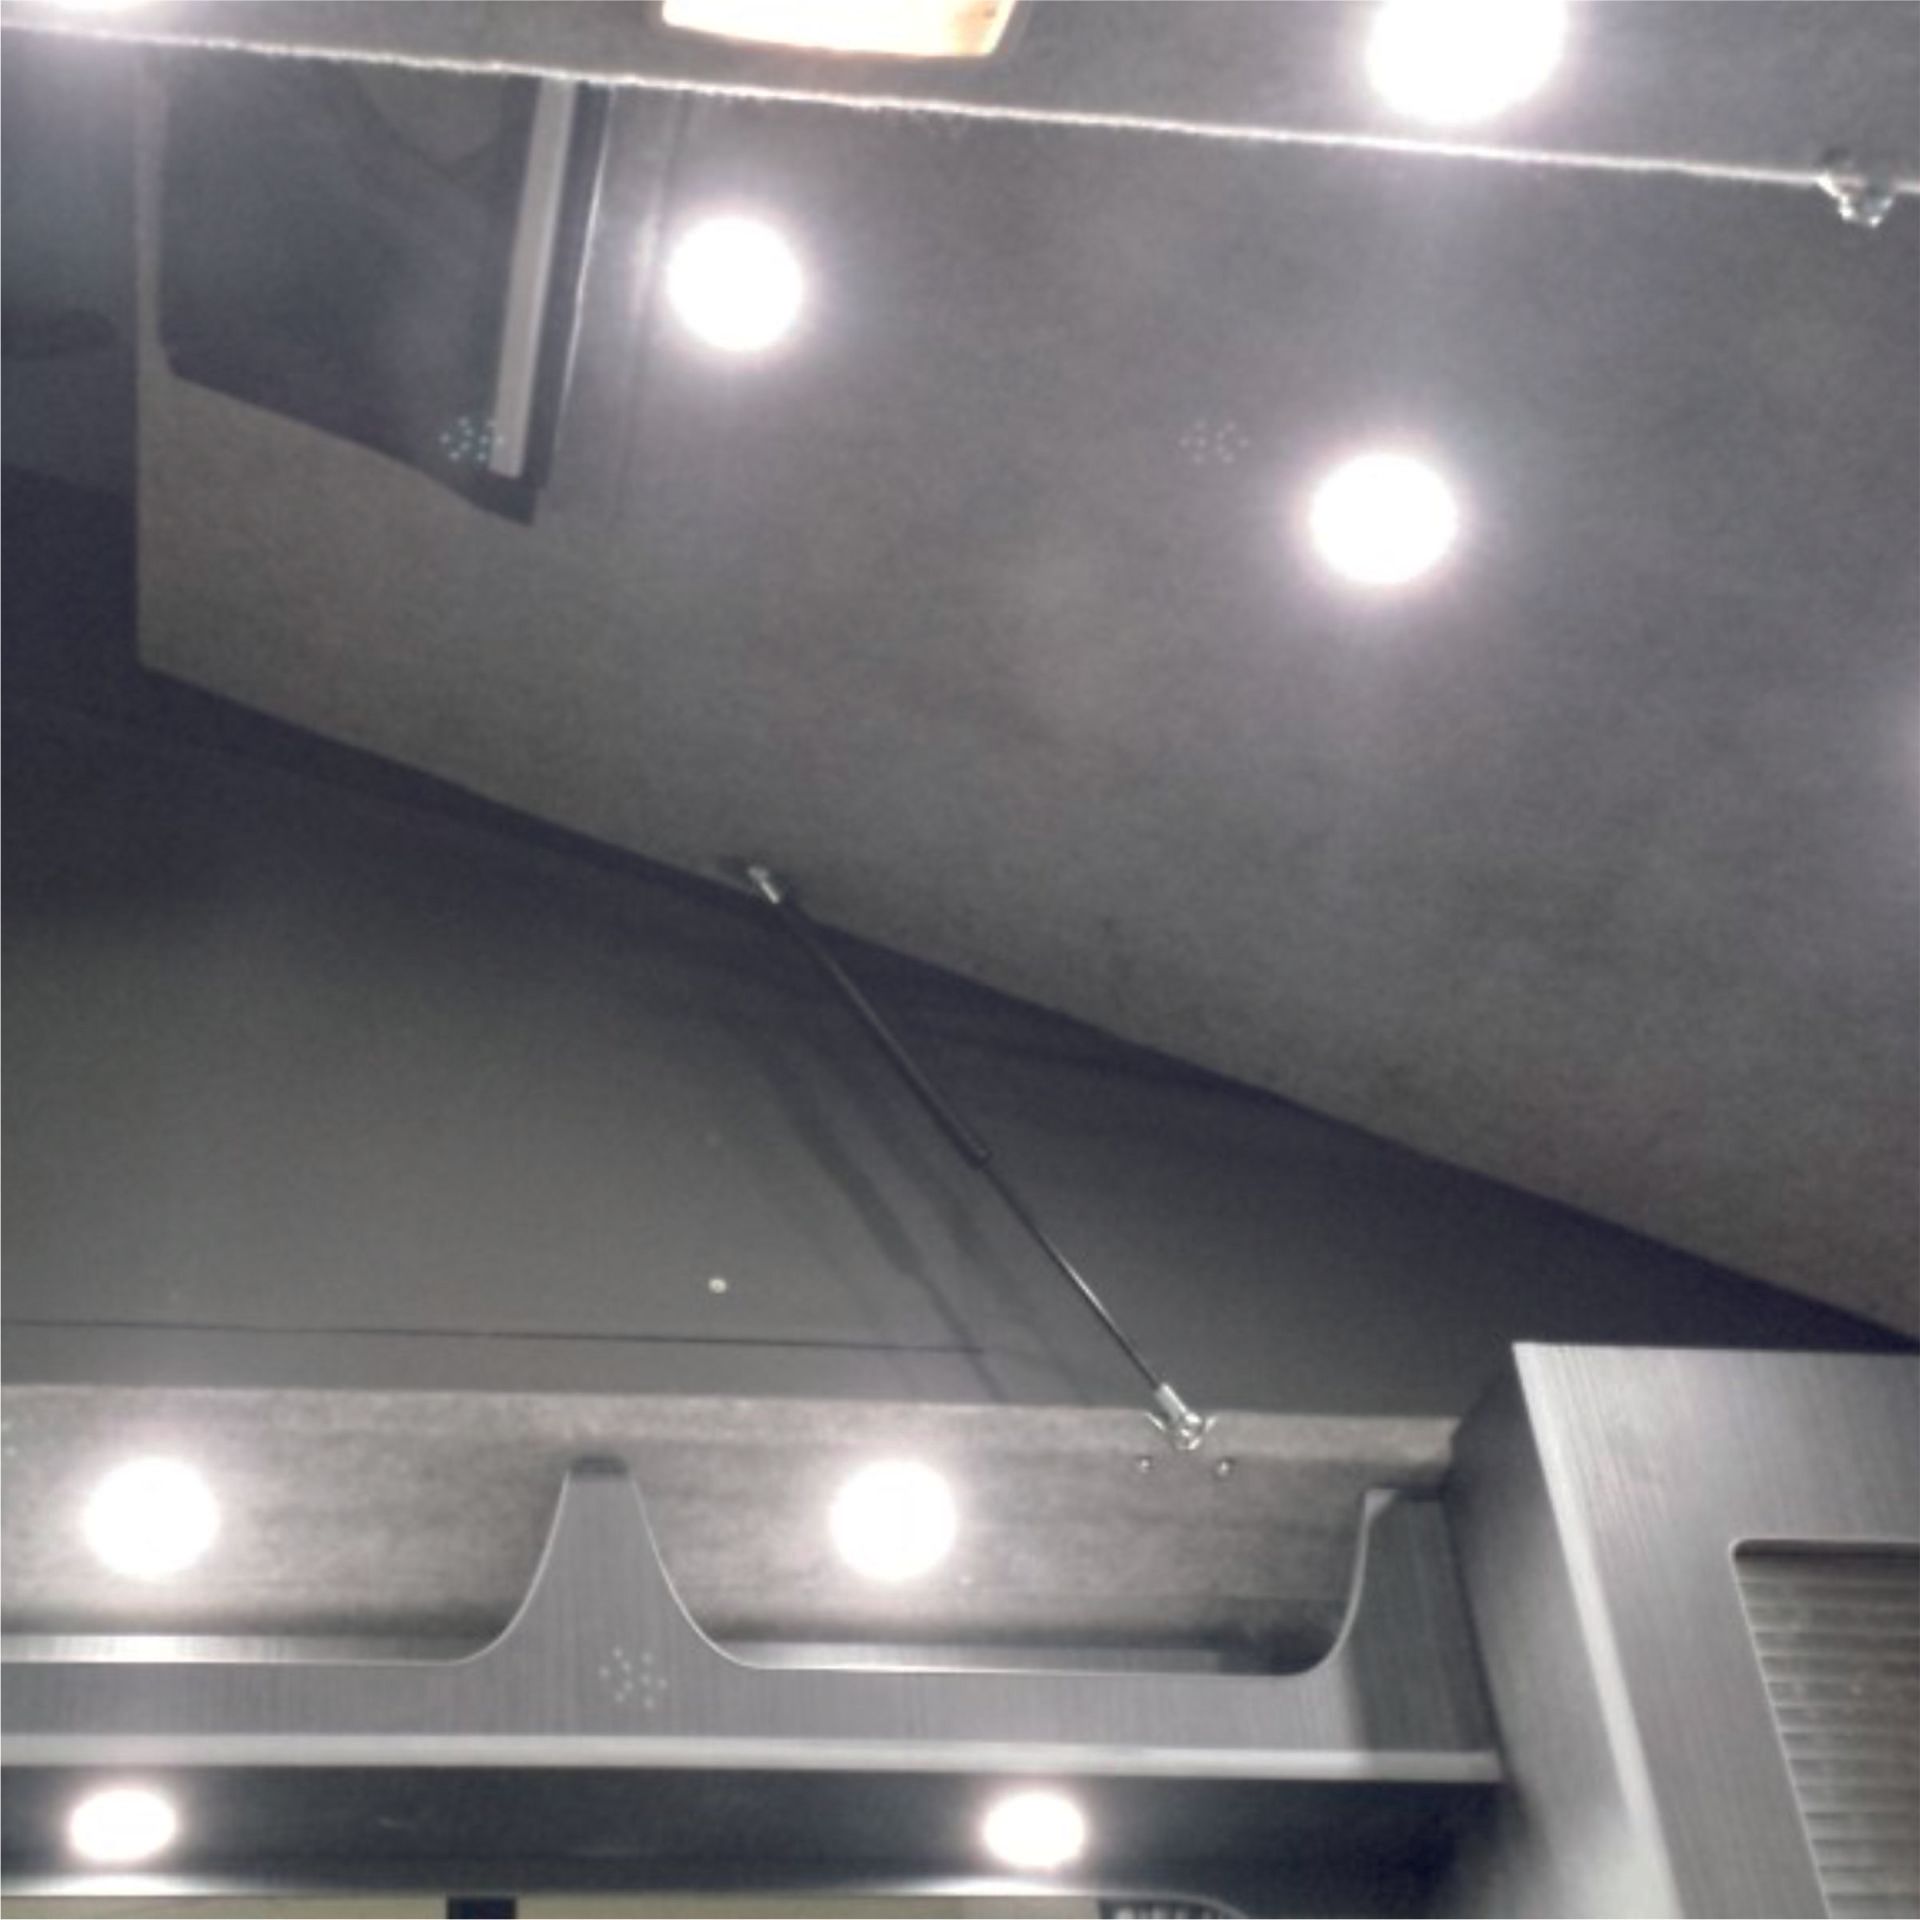
To complete the roof we add a lift up roof bed which can have logos and lighting incorporated into it.
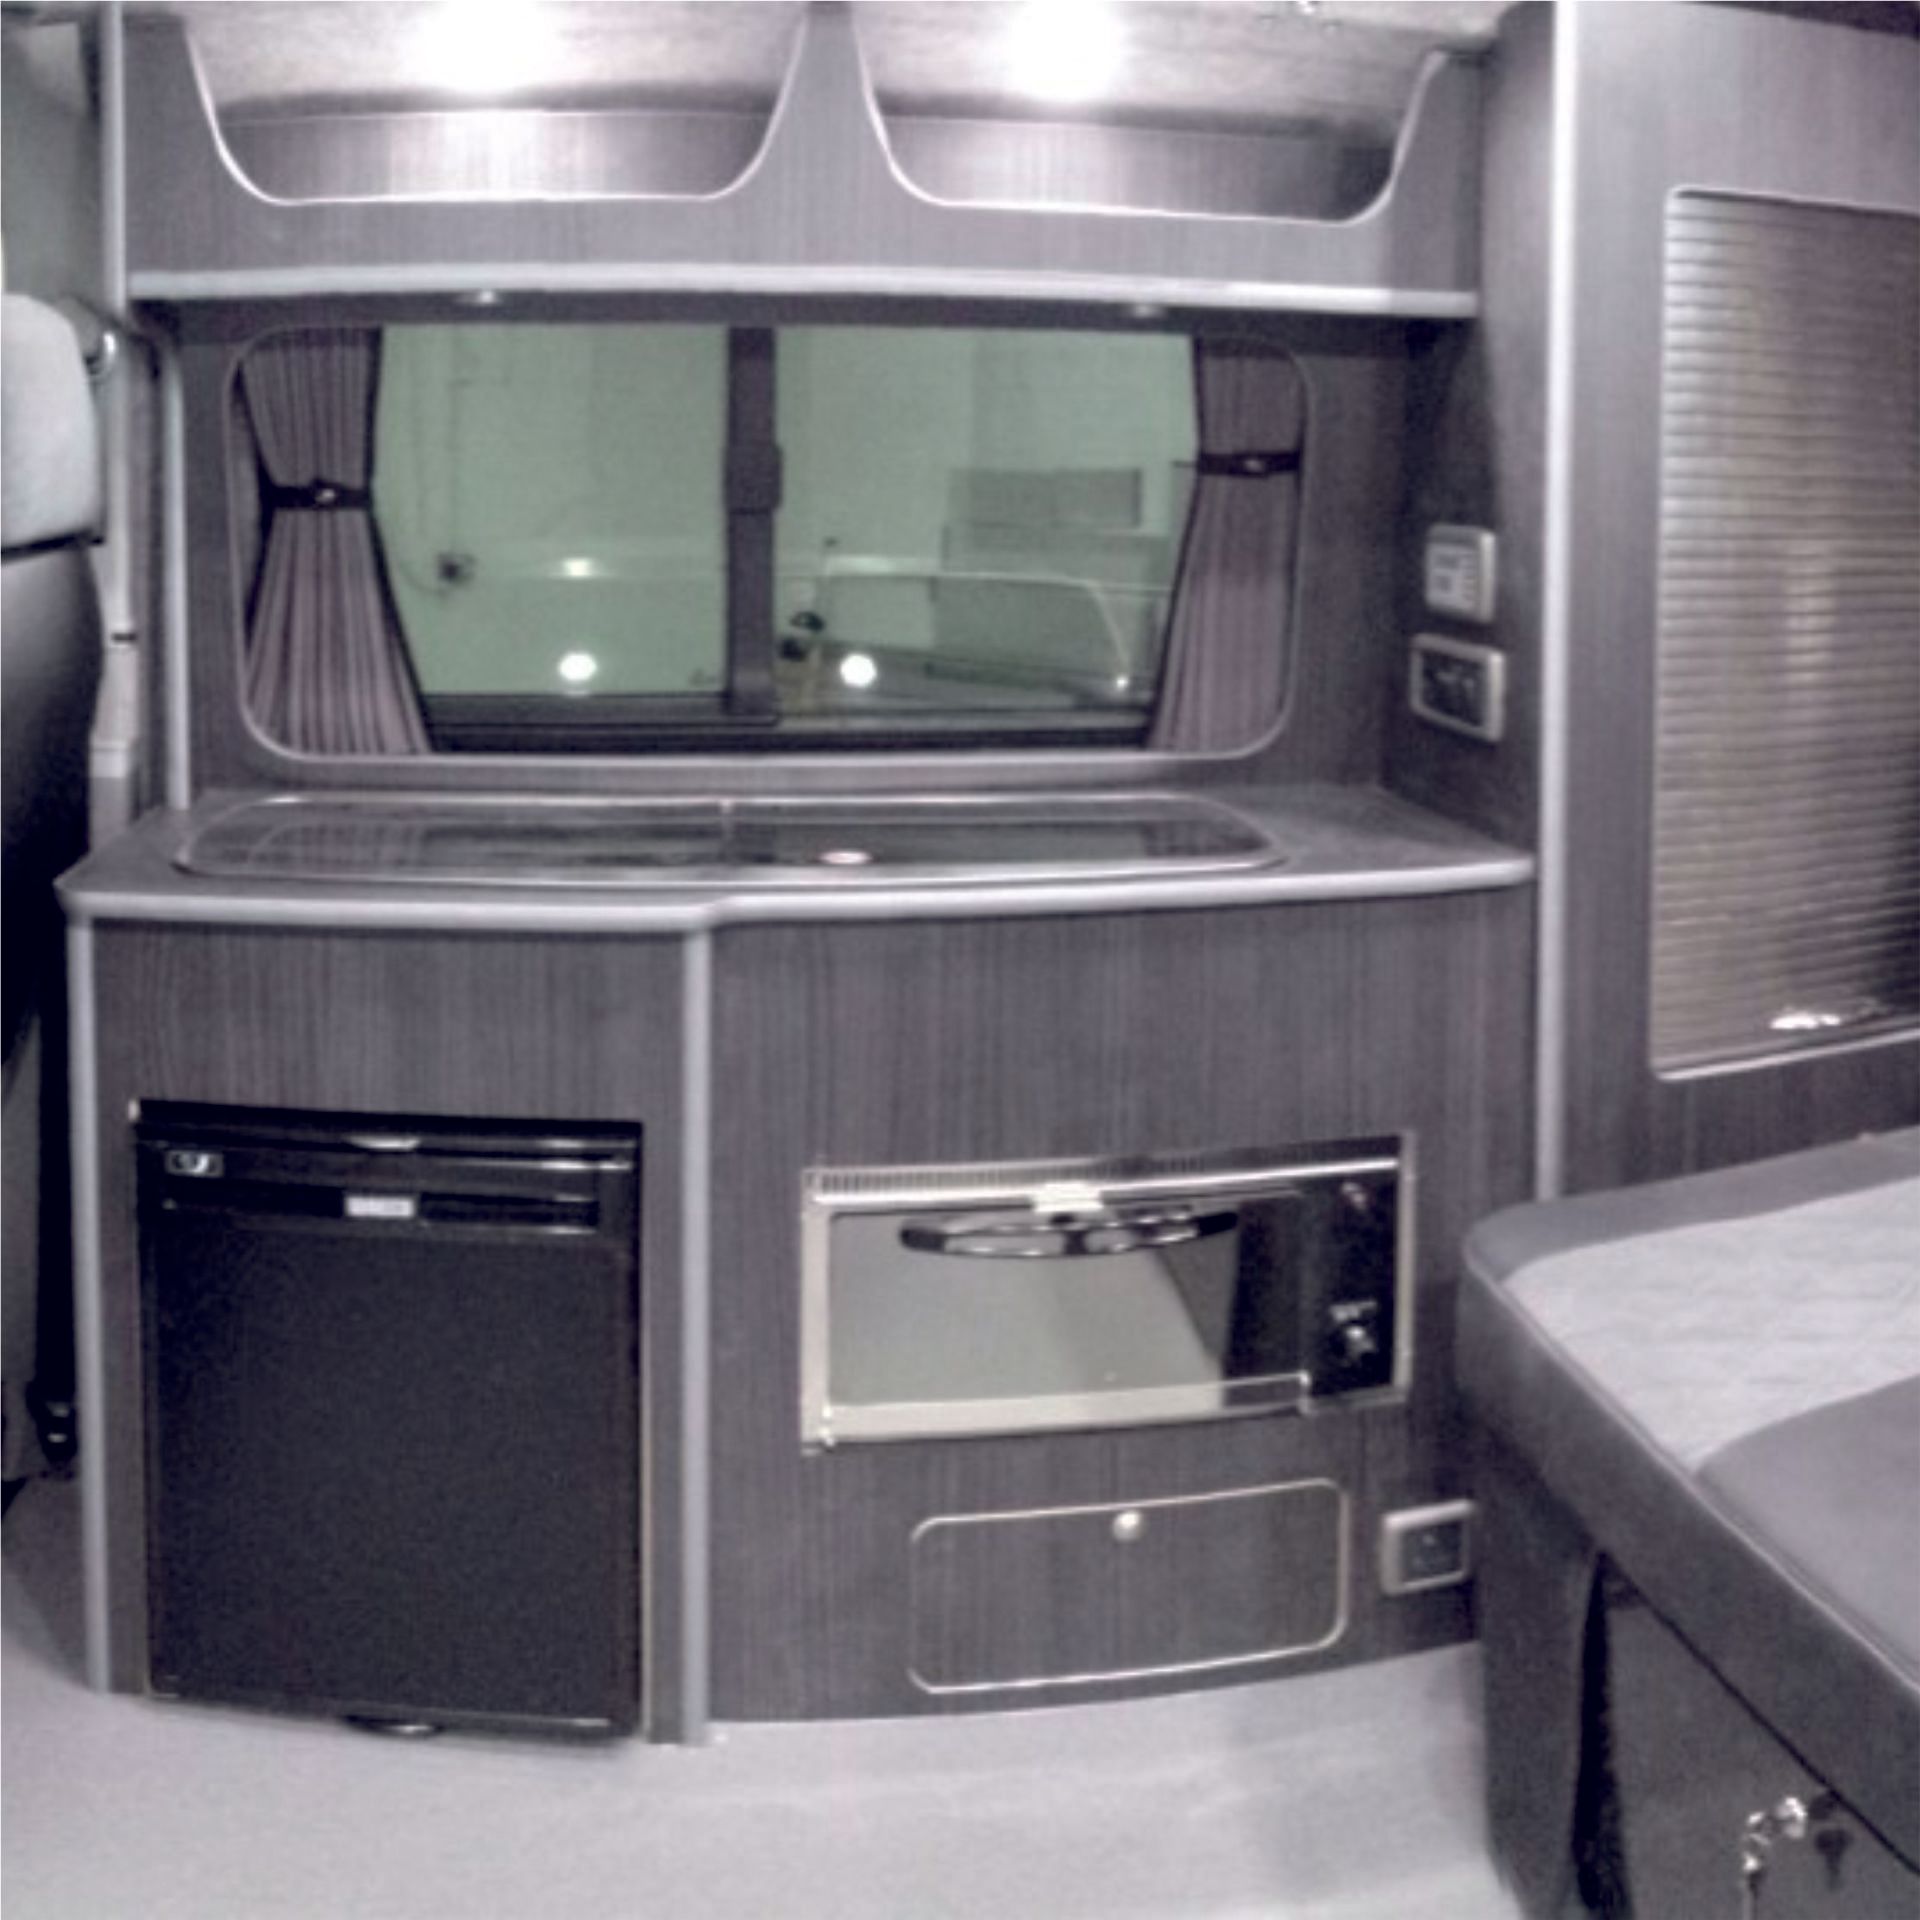
Finally the installed units are completed with hob, oven, fridge and sink units as well as electrical points.
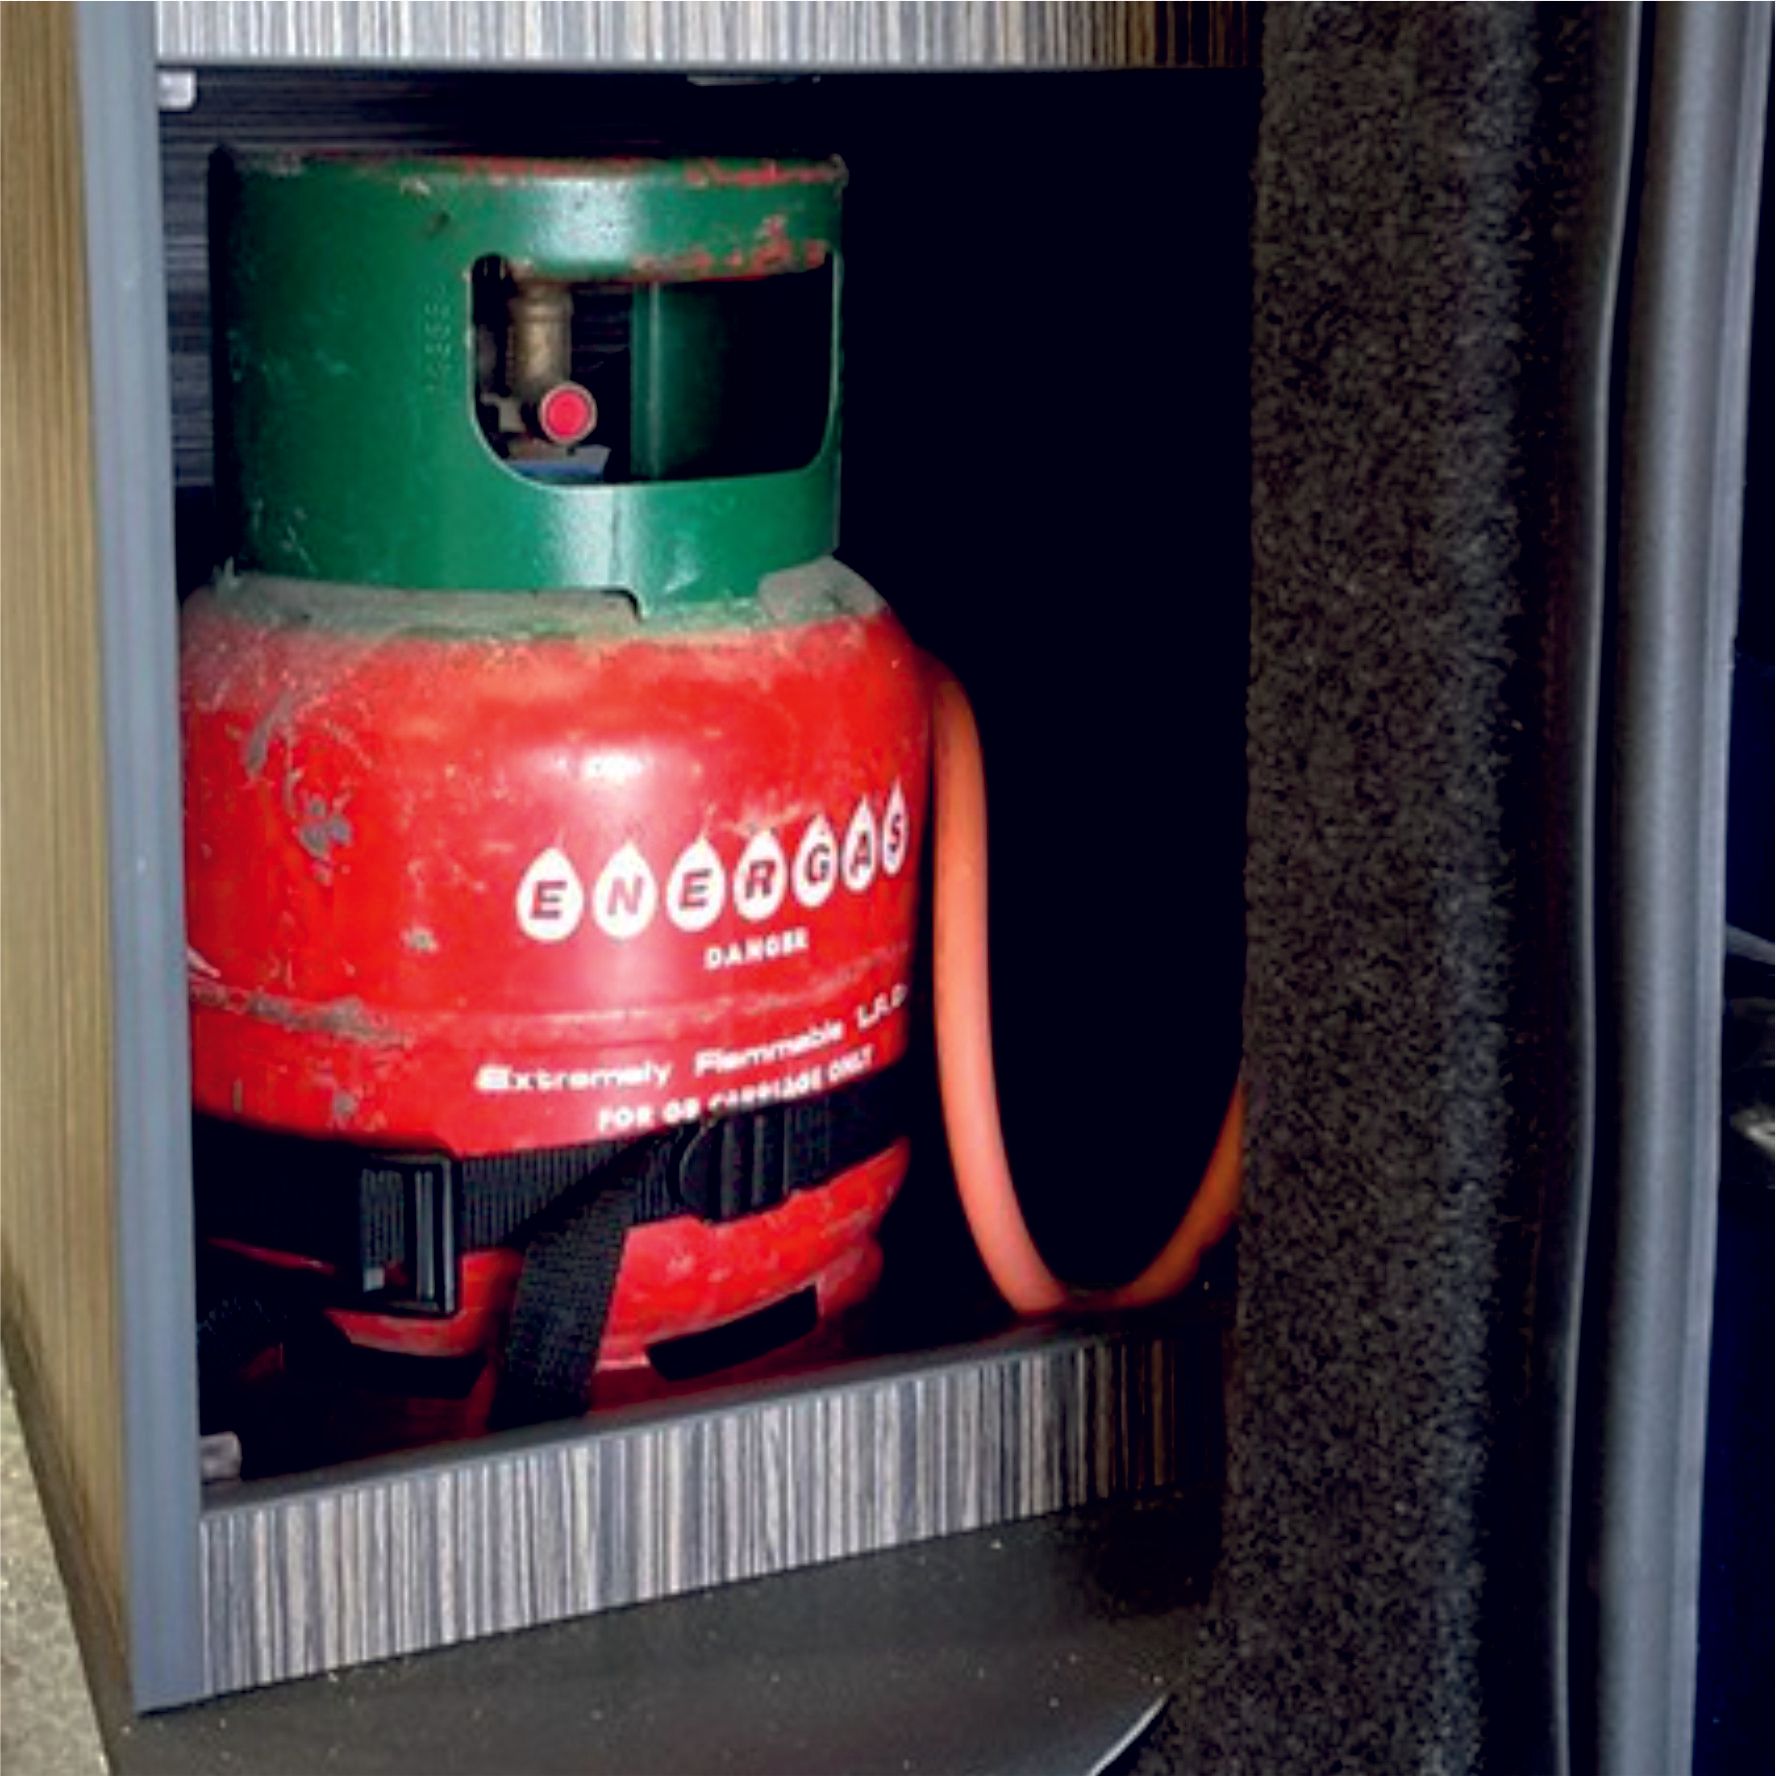
The last process is to fully safety check the vehicle before it leaves the factory including Gas Safety Certification.